
The Basics of Screen Printing at Home
Screen printing is a versatile and creative printing technique used to transfer designs onto fabric, paper, and other surfaces. While it’s often associated with professional studios, the good news is that screen printing can be done easily at home with simple tools and a bit of practice.
Whether you want to customize T-shirts, tote bags, posters, or art prints, learning the basics of screen printing opens the door to DIY creativity, small business ideas, and personalized projects. This beginner-friendly guide will walk you through everything you need to get started.
1. What Is Screen Printing?
- Screen printing uses a mesh screen to transfer ink onto a surface.
- A stencil blocks areas where ink should not pass.
- Ink is pushed through the open areas of the screen using a squeegee.
Why it’s popular: It produces bold, long-lasting designs and works on many materials.
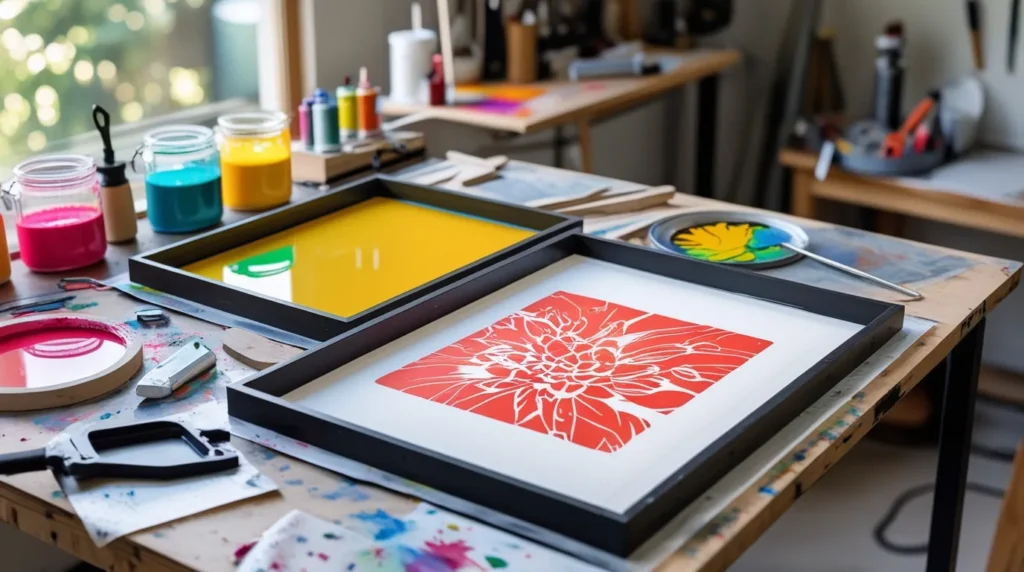
2. Basic Supplies You’ll Need
To start screen printing at home, gather these essentials:
- Screen frame with mesh
- Screen printing ink (fabric or paper ink)
- Squeegee
- Stencil material or photo emulsion
- Masking tape
- Flat surface or printing board
- Fabric, paper, or other printable material
Tip: Beginner screen printing kits are a great way to start.
3. Creating Your Design
- Keep designs simple for your first projects.
- Use bold lines and solid shapes.
- Print or cut your design onto stencil paper or transparency film.
Why it matters: Clean, simple designs print more clearly for beginners.
4. Preparing the Screen
There are two common beginner methods:
- Stencil Method: Attach a cut-out stencil to the screen.
- Photo Emulsion Method: Coat the screen with emulsion and expose it to light using your design.
Allow the screen to dry fully before printing.
5. Setting Up Your Workspace
- Work in a well-ventilated, well-lit area.
- Lay your fabric or paper flat and secure it in place.
- Place the screen firmly over the surface to avoid smudging.
Tip: Use cardboard inside T-shirts to prevent ink bleed-through.
6. Printing Your Design
- Apply a line of ink at the top of the screen.
- Hold the screen steady and pull the squeegee evenly across the design.
- Lift the screen carefully to reveal the print.
Tip: One smooth pass is often better than multiple strokes.
7. Drying and Curing the Ink
- Let prints air-dry completely.
- Heat-set fabric prints using an iron or heat press.
- Follow ink instructions for best durability.
Why it matters: Proper curing ensures your design lasts through washing and use.
8. Cleaning and Reusing Screens
- Clean screens immediately after use.
- Use water or ink remover depending on ink type.
- Store screens flat to avoid damage.
Bonus: Proper care extends the life of your tools and saves money.
Final Thoughts
Screen printing at home is a rewarding blend of art and craftsmanship. 🖌️
With basic tools, simple designs, and practice, you can create custom prints that look professional and last long. Whether you’re crafting for fun, gifting personalized items, or exploring a creative side hustle, screen printing offers endless possibilities right from home.
Start simple, stay patient, and enjoy the process — every print is part of the learning journey.