
Refinishing Wood Furniture: Staining, Painting, and Distressing
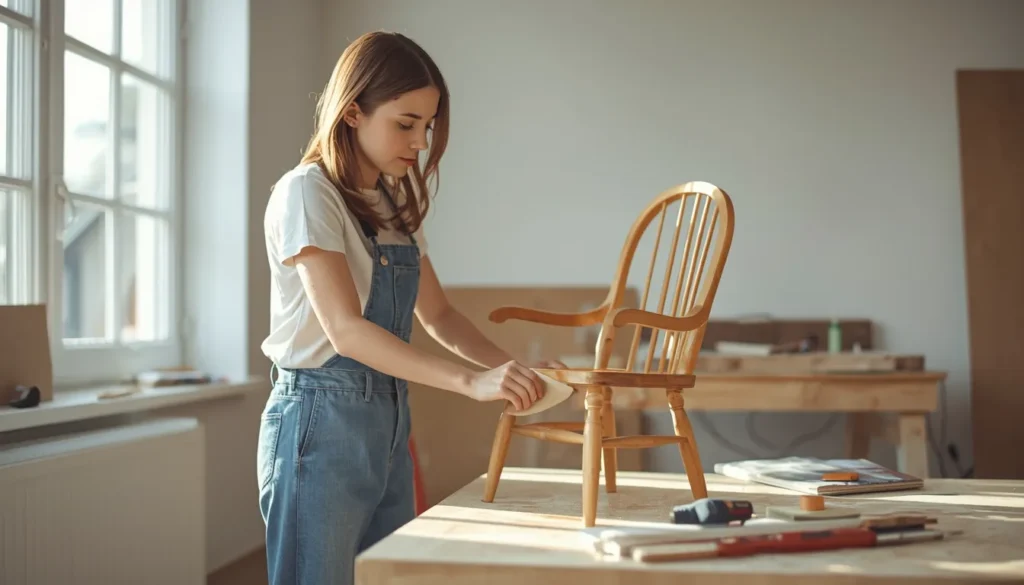
Old wood furniture doesn’t have to be thrown away. With the right refinishing techniques, you can completely transform outdated, scratched, or dull pieces into beautiful statement furniture.
Whether you prefer a natural wood finish, a bold painted look, or a rustic distressed style, refinishing gives new life to old furniture — often at a fraction of the cost of buying new.
Let’s explore how staining, painting, and distressing work, and when to choose each method.
Why Refinish Instead of Replace?
Refinishing wood furniture offers many benefits:
- Saves money
- Reduces waste
- Preserves solid wood quality
- Allows full customization
- Adds personal character to your home
Solid wood pieces especially are worth restoring because they’re often more durable than modern particleboard furniture.
1️⃣ Staining Wood Furniture
Staining enhances the natural beauty of wood grain rather than covering it.
Best For:
- Solid hardwood furniture
- Pieces with attractive wood grain
- Rustic or traditional styles
Steps for Staining:
- Remove old finish with sanding or stripping
- Sand smoothly (start coarse, finish fine)
- Wipe away dust
- Apply wood conditioner (for softwoods)
- Apply stain evenly with brush or cloth
- Wipe excess stain
- Seal with polyurethane or protective topcoat
Pros:
- Highlights natural wood beauty
- Elegant, timeless look
- Durable when sealed properly
Cons:
- Requires more prep work
- Won’t hide deep imperfections
2️⃣ Painting Wood Furniture
Painting completely changes the appearance of furniture and covers flaws.
Best For:
- Damaged surfaces
- Modern or farmhouse décor
- Bold color transformations
Steps for Painting:
- Clean thoroughly
- Lightly sand for better adhesion
- Apply primer
- Apply 2–3 thin coats of paint
- Seal with a clear topcoat
Popular Paint Finishes:
- Matte
- Satin
- Chalk paint
- Gloss
Pros:
- Hides scratches and stains
- Unlimited color options
- Easier for beginners
Cons:
- Covers wood grain
- May chip if not sealed well
3️⃣ Distressing Furniture
Distressing gives furniture a vintage, worn, or antique look.
Best For:
- Farmhouse décor
- Cottage-style homes
- Vintage-inspired interiors
Distressing Techniques:
Sanding Edges
Lightly sand corners and edges after painting to create natural wear.
Layered Paint Technique
Apply one base color, let dry, then apply a second color. Sand lightly to reveal the base color underneath.
Dry Brushing
Use minimal paint on a brush to create a faded, textured look.
Wax Distressing
Apply wax to areas before painting so paint doesn’t adhere fully, then sand lightly.
Pros:
- Adds character
- Hides future wear and tear
- Unique handmade finish
Cons:
- Easy to overdo
- Requires practice for balance
Choosing the Right Finish
Ask yourself:
- Do I want natural or bold?
- Is the wood high quality?
- Does the piece have damage?
- What style matches my home décor?
Quick Guide:
- Beautiful grain → Stain
- Heavy damage → Paint
- Rustic charm → Distress
Tools You’ll Need
- Sandpaper (multiple grits)
- Paint brushes or foam rollers
- Clean cloths
- Primer
- Paint or stain
- Protective topcoat
- Drop cloth
- Safety gloves and mask
Common Mistakes to Avoid
- Skipping sanding
- Applying thick paint coats
- Not sealing the finish
- Ignoring drying time
- Over-distressing
Patience makes a huge difference in final results.
Final Thoughts
Refinishing wood furniture is one of the most satisfying DIY projects. Whether you choose staining, painting, or distressing, you’re not just restoring furniture — you’re creating something personal and unique.
With preparation, creativity, and attention to detail, even an old, worn piece can become a standout feature in your home.