
Pressed Flower Art: Framing and Preserving Blooms
Pressed flower art is a timeless way to bring nature into your home, celebrate memories, and create personalized décor. For women who love crafting, mindfulness, and creative expression, pressing and framing flowers offers a relaxing and rewarding activity. Whether preserving blooms from a garden, a special occasion, or a nature walk, pressed flower art transforms delicate petals into lasting treasures.
This guide will help you get started with the basics of essing, preserving, and framing flowers beautifully.
Why Pressed Flower Art is So Special
- Preserves Memories: Capture flowers from weddings, birthdays, or special outings.
- Creative Expression: Experiment with colors, textures, and arrangements.
- Home Décor: Add a natural and elegant touch to walls, tables, or gifts.
- Mindful Activity: Crafting with flowers promotes calm and focus.
Pressed flower art combines creativity with mindfulness, making it perfect for home or gifting.
Step 1: Choosing Flowers
- Select Fresh Blooms: Pick flowers that are not too thick or bulky.
- Popular Choices: Pansies, daisies, ferns, roses, violets, and lavender.
- Consider Color: Bright or pastel petals preserve best.
- Avoid Moisture: Ensure flowers are dry and free of dew.
Choosing the right flowers ensures a smooth pressing process and lasting vibrancy.
Step 2: Pressing Flowers
Simple Pressing Methods:
- Using a Heavy Book
- Place flowers between parchment or blotting paper
- Stack books or weights on top
- Wait 1–3 weeks until fully flattened
- Using a Flower Press
- Insert flowers in layers of cardboard and paper
- Tighten screws or straps to apply pressure
- Leave for 1–2 weeks
- Microwave Pressing (Quick Method)
- Use a microwave flower press
- Heat in short bursts, checking frequently
- Works well for thin blooms
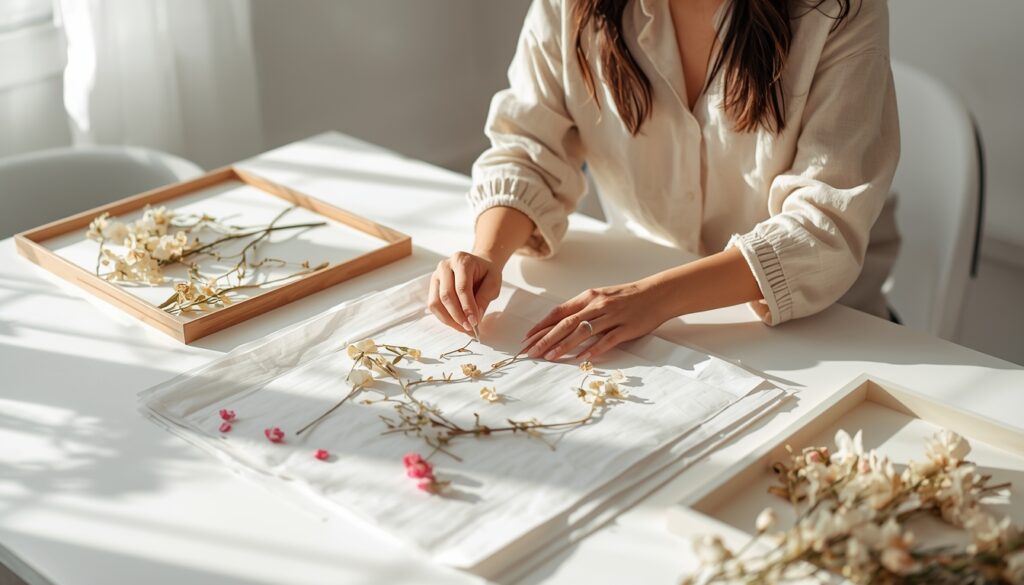
Step 3: Arranging and Designing
- Plan Layouts: Sketch arrangements before gluing or framing.
- Combine Colors: Mix different flowers and leaves for contrast.
- Experiment with Patterns: Shapes, circles, hearts, or abstract designs.
- Add Accents: Gold leaf, ribbons, or delicate calligraphy can enhance beauty.
Creativity is your only limit—pressed flowers can be minimalist or intricate.
Step 4: Framing Your Art
- Choose Frames: Shadow boxes or deep frames preserve the 3D texture.
- Use Acid-Free Materials: Protect flowers from yellowing and decay.
- Seal and Protect: Consider UV-protective glass to preserve color.
- Placement: Display away from direct sunlight or moisture for longevity.
Framing transforms delicate petals into elegant, lasting décor.
Step 5: Caring for Your Pressed Flower Art
- Avoid direct sunlight to prevent fading
- Keep away from humidity or damp walls
- Dust gently using a soft brush or microfiber cloth
- Handle frames with care to prevent crushing blooms
With proper care, your pressed flower art can last for years.
Final Thoughts
Pressed flower art is a beautiful way for women to combine creativity, mindfulness, and natural beauty. By carefully selecting flowers, pressing and preserving them, and framing thoughtfully, you can create lasting pieces that bring joy, elegance, and personal meaning to your home. Whether for self-expression, décor, or gifting, pressed flower art celebrates the delicate and timeless beauty of nature.