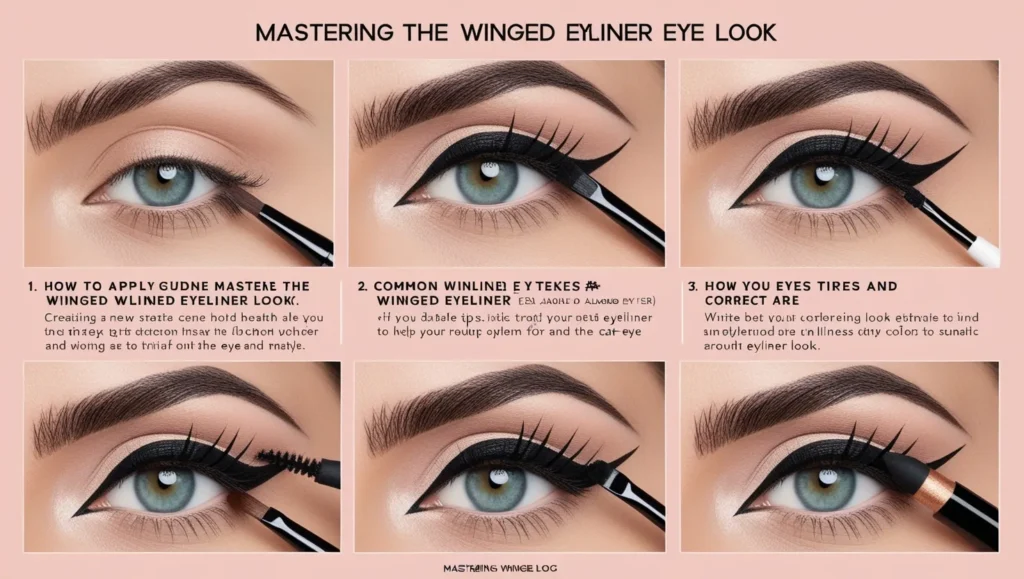
Mastering the Winged Eyeliner Look Tips and Tricks
The winged eyeliner look is a timeless beauty statement. Whether you prefer a subtle flick or a dramatic cat-eye, nailing this style can enhance your eyes and elevate your entire makeup look. Yet, achieving the perfect wing can be intimidating, even for seasoned makeup enthusiasts. With the right tools, techniques, and a bit of practice, mastering the winged eyeliner look is easier than it seems.
Why Winged Eyeliner?
The winged eyeliner look has been a favorite for decades, thanks to its versatility and elegance.
- Eye-Enhancing: It accentuates the eyes, making them appear larger and more defined.
- Timeless Appeal: From Audrey Hepburn to contemporary icons, the look suits every era.
- Customizable: Adjust the angle, thickness, and length of the wing to suit your style, eye shape, and occasion.
Essential Tools for Winged Eyeliner
- Before diving into application, ensure you have the right tools:
- Eyeliner Types:
- Liquid Eyeliner: Ideal for sharp, precise lines.
- Gel Eyeliner: Offers control and intensity; best applied with an angled brush.
- Pencil Eyeliner: Great for beginners or a softer, smudged look.
- Angled Brush: Perfect for applying gel eyeliner or correcting edges.
- Q-Tips and Makeup Remover: For cleaning up mistakes effortlessly.
- Eyelid Primer: Ensures a smooth base and prevents smudging.
- Tape or Stencils: Handy for achieving a uniform wing.
1. The 15-Minute Power Workout
Even with a packed day, 15 minutes of focused exercise can make a big difference. This high-intensity interval training (HIIT) routine targets the whole body:
- Jumping Jacks: 2 minutes to warm up.
- Push-Ups: 1 minute to strengthen the upper body.
- Squats: 2 minutes for legs and glutes.
- Plank: 1 minute to engage the core.
- Burpees: 2 minutes for full-body cardio.
- Cool Down: 2 minutes of stretching.
Repeat the cycle if time permits or stick to a single round for a quick but effective workout.
Step-by-Step Guide to Perfect Winged Eyeliner
1. Prep Your Eyes
- Cleanse your eyelids to remove oil and dirt.
- Apply a primer or a matte eyeshadow as a base to help the eyeliner stay put.
2. Choose Your Style
Decide on the type of wing—classic, dramatic, or bold. Your choice will guide the thickness and angle of the wing.
3. Start with the Wing
- Place a piece of tape or a card at the outer corner of your eye, angling it towards the end of your eyebrow.
- Draw a diagonal line from the outer corner of your eye outward. The length and angle of this line determine the wing’s drama.
4. Line the Upper Lash Line
- Starting from the inner corner of your eye, draw a thin line along your lash line.
- Gradually thicken the line as you move toward the outer corner, connecting it with the wing.
5. Perfect the Wing
- Fill in the winged triangle created between the lash line and the outer flick.
- Smooth out any uneven edges using a Q-tip dipped in makeup remover or concealer.
6. Balance Both Eyes
- Ensure symmetry by checking both eyes in the mirror. Adjust as needed.
7. Set and Finish
- Set your eyeliner with a matching eyeshadow or a translucent powder to prevent smudging.
- Complete the look with mascara or false lashes to enhance your eyes further.
Tips and Tricks for Flawless Winged Eyeliner
- Find Your Angle: Follow the natural curve of your lower lash line to determine the best angle for your wing.
- Rest Your Elbow: Place your elbow on a steady surface to avoid shaky hands.
- Connect in Sections: If a continuous line feels daunting, draw small sections and connect them.
- Experiment with Tools: Beginners might find pen-style liners easier to control.
- Clean Up Mistakes: Use a small, flat brush with concealer to sharpen the edges of your wing.
- Practice Makes Perfect: Don’t get discouraged if it’s not perfect initially; mastering the wing takes time
Winged Eyeliner for Different Eye Shapes
- Hooded Eyes: Keep the liner thin on the inner corners and extend the wing slightly outward to create the illusion of lifted eyes.
- Round Eyes: Start your liner mid-lash line and extend it outward for an elongated look.
- Monolid Eyes: Use a thicker line and focus on the outer wing to define the eyes.
- Downturned Eyes: Draw the wing slightly upward to lift the outer corners.
- Almond Eyes: This versatile shape works well with most winged eyeliner styles, so feel free to experiment!
Common Mistakes and How to Fix Them
- Uneven Wings: Check symmetry frequently while applying and use tape as a guide.
- Too Thick Too Soon: Start with a thin line and build thickness gradually.
- Smudging: Use waterproof eyeliner and set it with powder or matching eyeshadow.
- Shaky Lines: Practice small, controlled strokes rather than trying to draw the wing in one go.
Beyond Black: Experimenting with Colors
While black is classic, experimenting with colorful eyeliner can add a fun twist to your look.
- Nude or White: Apply to the lower waterline to make eyes appear larger.
- Metallic Shades: Gold, silver, or bronze wings are perfect for evening looks.
- Bright Colors: Blues, purples, and greens can create a bold statement.
- Double Wings: Combine a black wing with a colored line for a unique, layered effect.
Final Thoughts
Mastering the winged eyeliner look is an empowering skill that allows you to express your style with confidence. With patience, the right tools, and these tried-and-true techniques, you’ll be creating flawless wings in no time. Whether you’re aiming for a subtle flick or a bold statement, winged eyeliner adds a touch of elegance and drama to any look.
Remember, every makeup artist started with a wobbly line—practice and experimentation are all part of the journey. So grab your favorite eyeliner and start perfecting your wing today!

