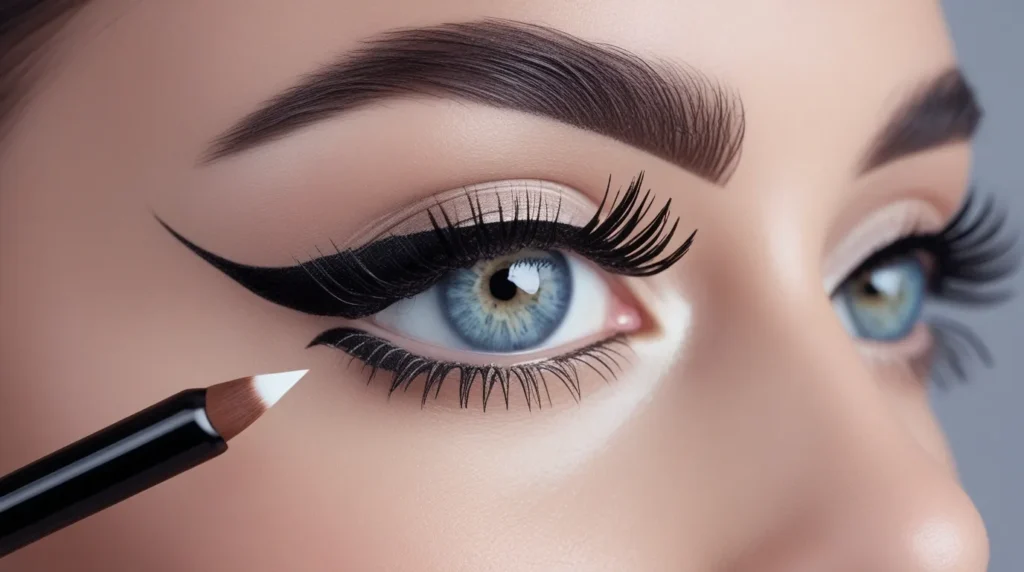
Mastering the Perfect Winged Eyeliner
Winged eyeliner is a timeless makeup look that adds drama, definition, and elegance to your eyes. While it may seem challenging at first, mastering the perfect winged eyeliner is achievable with the right techniques, tools, and practice. Whether you prefer a subtle flick or a bold cat-eye, learning how to create precise lines can elevate your entire makeup look.
The key is understanding your eye shape, choosing the right eyeliner type, and following a step-by-step approach to achieve symmetry and sharpness.
1. Choosing the Right Eyeliner
Different eyeliner types work better for different looks and skill levels:
- Liquid Eyeliner: Ideal for sharp, precise lines and dramatic wings. Perfect for bold or intense cat-eyes.
- Gel Eyeliner: Offers smooth application and control, often applied with a brush. Great for smudge-free lines.
- Pencil Eyeliner: Best for beginners, easy to control, and suitable for softer, smoky winged looks.
- Felt-Tip Pen: Combines precision of liquid eyeliner with ease of a pen; great for beginners and quick application.
Choosing the right eyeliner ensures better control and long-lasting results.
2. Preparing Your Eyes
Before applying eyeliner, preparation is key:
- Clean Eyelids: Remove oil and makeup residues to prevent smudging.
- Primer or Concealer: Apply a thin layer to create a smooth canvas and increase longevity.
- Optional Eye Shadow: Light eyeshadow can enhance the eyeliner and make blending easier.
Proper preparation ensures your eyeliner stays sharp and lasts longer.
3. Step-by-Step Winged Eyeliner Technique
Step 1: Determine the Angle
- Follow the natural line of your lower lash line toward the end of your eyebrow.
- Use a small angled brush or tape to mark the guideline for your wing.
Step 2: Draw the Wing
- Start from the outer corner and draw a small line in the direction of your eyebrow.
- Adjust the length depending on your preference: subtle, medium, or bold.
Step 3: Connect the Line
- Draw a line from the tip of the wing back to your upper lash line.
- Fill in the triangle formed between the wing and the lash line.
Step 4: Line the Upper Lash Line
- Draw a smooth line along your upper lash line, connecting it with the wing.
- Keep the line thin toward the inner corner and gradually thicker toward the outer edge.
Step 5: Finishing Touches
- Clean up mistakes using a cotton swab dipped in makeup remover or concealer.
- Apply mascara to enhance lashes and blend the eyeliner with your natural eye shape.
4. Tips for Perfect Symmetry
- Use Tape or Stencils: Helps guide the wing and keep lines consistent.
- Work in Small Strokes: Prevents mistakes and allows better control.
- Check from Different Angles: Look straight into the mirror and from the side.
- Practice Makes Perfect: Daily practice improves precision and confidence.
Symmetry is key to a polished and professional-looking winged eyeliner.
5. Customizing for Your Eye Shape
Different eye shapes may require adjustments:
- Hooded Eyes: Keep the line thin and extend the wing slightly upward.
- Almond Eyes: Most winged styles suit this shape naturally.
- Round Eyes: Extend the wing outward to elongate the eyes.
- Monolid Eyes: Use a thicker line to ensure visibility; a slight upward flick works well.
Understanding your eye shape enhances the final look and complements your features.
Final Thoughts
Mastering the perfect winged eyeliner is both an art and a skill. With patience, the right tools, and consistent practice, anyone can achieve sharp, symmetrical, and stunning wings. Experiment with different angles, thicknesses, and eyeliner types to discover your signature style.
The beauty of winged eyeliner lies in its versatility—it can be subtle for daily wear or bold for special occasions. Once you master it, this classic look will elevate your makeup routine and give your eyes an effortlessly captivating appeal.

