
How to Make Custom Stencils for Painting Projects
Creating custom stencils is one of the easiest and most affordable ways to personalize walls, furniture, fabric, wood signs, and DIY décor. Whether you’re designing a statement wall, refreshing old furniture, or adding artistic touches to crafts, custom stencils give you complete creative control.
Instead of buying pre-made patterns, making your own stencil allows you to match your exact theme, style, and space.
This detailed guide will walk you through everything you need to know.
Why Make Your Own Stencil?
Custom stencils offer:
- Complete design freedom
- Cost-effective decorating
- Reusable patterns
- Professional-looking results
- Perfect fit for your project size
From modern geometric designs to floral art and personalized quotes, the possibilities are endless.
Materials You’ll Need
Before starting, gather these tools:
- Stencil material (Mylar sheets, acetate sheets, or thick plastic folders)
- Craft knife or precision blade
- Cutting mat
- Printed design
- Painter’s tape
- Permanent marker
- Ruler
- Spray adhesive (optional)
For fabric projects, you may also need fabric paint. For walls or wood, acrylic or latex paint works best.
Step 1: Choose and Prepare Your Design
Your stencil design can be:
- A printed quote
- A logo
- A floral pattern
- Geometric shapes
- Mandala art
- Custom lettering
Tips for choosing a design:
- Avoid overly intricate details for beginners.
- Ensure the design has “bridges” (small connecting areas) so inner pieces don’t fall out.
- Print the design in the exact size you want.
If you’re creating text, use bold fonts for cleaner results.
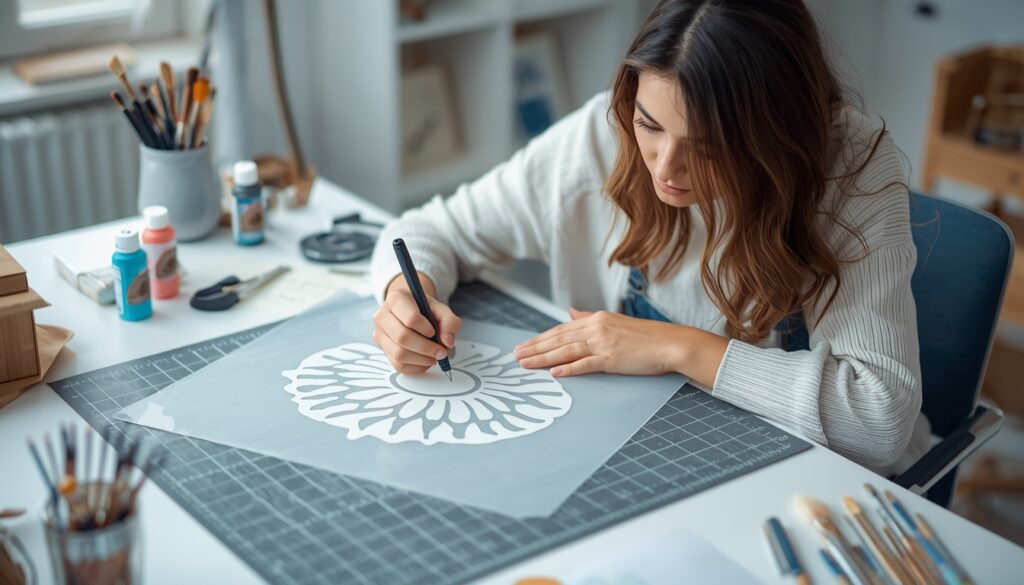
Step 2: Transfer the Design to the Stencil Material
Place your printed design underneath the clear stencil sheet.
Trace the design carefully using a permanent marker.
If the sheet is not transparent:
- Use carbon paper to transfer the design.
- Or tape the design onto a bright window and trace.
Take your time. Precision at this stage determines final quality.
Step 3: Cut the Stencil Carefully
Place the stencil sheet on a cutting mat.
Using a sharp craft knife:
- Cut slowly along the lines.
- Rotate the sheet, not your wrist, for smoother curves.
- Replace dull blades for clean edges.
Safety tip: Always cut away from your body and keep fingers clear.
Once complete, gently remove the cut-out pieces.
Step 4: Secure the Stencil on Your Surface
Before painting:
- Clean the surface.
- Ensure it’s dry.
- Use painter’s tape to secure edges.
- Apply light spray adhesive to prevent paint bleed (optional but recommended).
Test the stencil on scrap material first.
Step 5: Apply Paint Properly
Use:
- A stencil brush (dabbing motion)
- A foam roller (light pressure)
Important tips:
- Use minimal paint to prevent bleeding.
- Dab, don’t swipe.
- Build color gradually with light layers.
After painting, carefully lift the stencil straight up to avoid smudging.
Best Surfaces for Stenciling
Custom stencils work beautifully on:
- Accent walls
- Wooden signs
- Furniture pieces
- Fabric cushions
- Tote bags
- Canvas art
- Floors
- Tiles
Different surfaces may require different paint types, so choose accordingly.
Advanced Tips for Professional Results
- Clean your stencil immediately after use.
- Use repositionable adhesive for large projects.
- Layer multiple stencils for dimension.
- Try metallic or textured paints for dramatic effect.
- Seal painted designs with a clear topcoat for durability.
Common Mistakes to Avoid
- Using too much paint
- Not securing edges properly
- Cutting with dull blades
- Choosing overly detailed designs for first attempts
- Rushing the drying process
Patience creates perfection.
Why DIY Stencils Are Worth It
Making custom stencils:
- Encourages creativity
- Saves money
- Allows complete personalization
- Gives handmade charm
- Builds crafting skills
Whether you’re decorating your home or working on art projects, stencil-making is a valuable skill for DIY enthusiasts.
Final Thoughts
Custom stencils open endless creative possibilities. With the right materials, careful cutting, and proper painting techniques, you can achieve professional-quality results at home.
Start simple, practice patience, and experiment with designs. Once you master the basics, your painting projects will look polished and unique.