How to Create Handmade Jewelry
Jewelry-making is an art form that allows for endless creativity and personal expression. Whether you’re designing a necklace for yourself, creating a gift for a loved one, or exploring a new hobby, handmade jewelry offers the opportunity to craft unique pieces that reflect your style. If you’ve always wanted to try your hand at creating beautiful, one-of-a-kind accessories, this guide will walk you through the essential steps of making your own handmade jewelry.
In this blog post, we’ll explore the basics of jewelry-making, from selecting the right materials to the various techniques involved. With a little time, patience, and practice, you can create stunning jewelry that will have everyone asking, “Where did you get that?”
1. Gather Your Materials
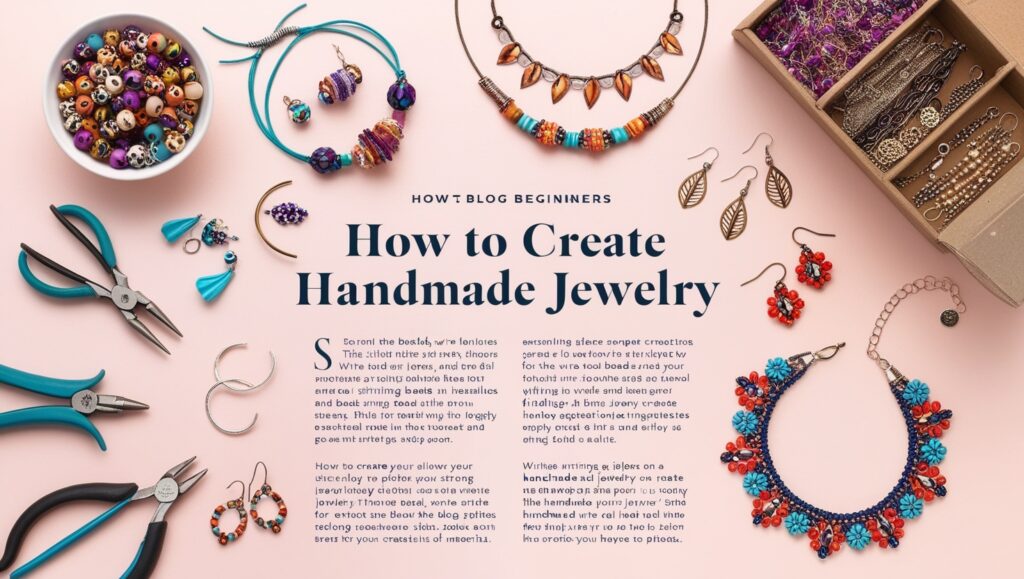
The first step in creating handmade jewelry is to gather all the necessary materials. Jewelry-making can be as simple or as elaborate as you like, but there are some basic supplies that you’ll need to get started.
Basic Jewelry-Making Supplies:
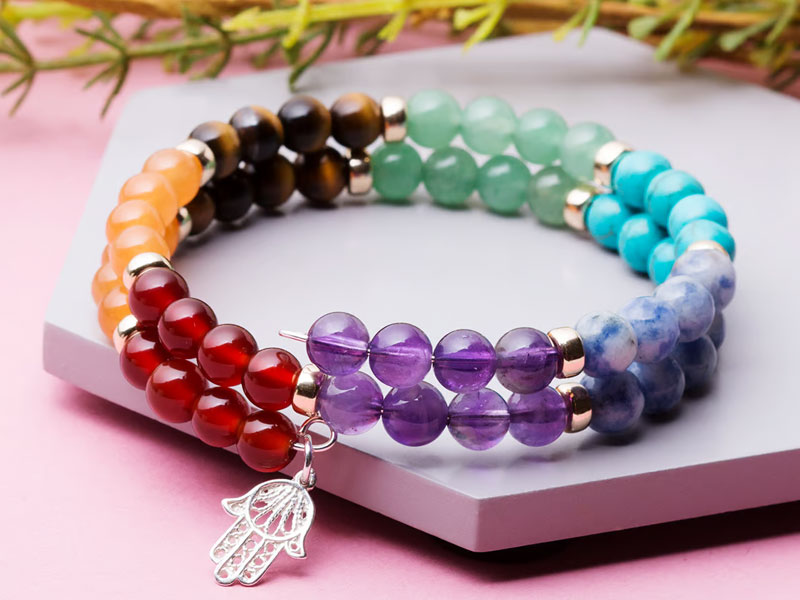
- Beads: These can be made from a variety of materials, including glass, wood, metal, stone, and plastic. Beads come in different sizes, shapes, and colors, so choose a variety that suits your style.
- Wire: Jewelry wire comes in several types, such as beading wire, memory wire, and wire for wrapping. For most beginner projects, a soft, flexible beading wire is a great option.
- Jewelry Findings: These are essential hardware pieces, such as clasps, jump rings, ear wires, and headpins. They are used to connect different elements of your jewelry.
- Tools: Some essential tools for jewelry-making include:
- Round-nose pliers (for shaping wire)
- Flat-nose pliers (for gripping and bending wire)
- Wire cutters (for trimming excess wire)
- Crimp beads (for securing beading wire)
- A bead mat or tray (to keep your beads organized while you work)
Additional Materials (Optional):
- Stringing materials: Such as leather cord, silk thread, or nylon thread, for more boho or minimalist designs.
- Charms and Pendants: Decorative elements like charms, pendants, or connectors can add an extra touch to your jewelry.
- Jewelry adhesive: For gluing certain pieces in place, such as rhinestones or cabochons.
Make sure you have a clean, organized workspace, and lay out your materials before beginning. This will help you visualize your design and keep things neat as you work.
2. Choose Your Jewelry Design
Before diving into the making process, it’s essential to have a design in mind. Take some time to think about what you want to create—whether it’s a pair of earrings, a bracelet, a necklace, or a ring. Keep in mind that your design doesn’t need to be overly complicated, especially if you’re a beginner. Start with something simple, like a beaded bracelet or a pendant necklace, and work your way up as you gain confidence.
Tips for Designing Your Jewelry:
- Color Palette: Choose a color palette that resonates with your personal style. Experiment with complementary colors or go for a monochromatic look.
- Theme: If you’re creating a piece for a special occasion, consider a theme or inspiration. For example, beach-inspired jewelry could use shells and turquoise beads, while a nature-inspired design might feature floral pendants and earthy tones.
- Balance and Proportion: If using beads, consider the size of the beads and the spacing between them. Larger beads can serve as the focal point of the design, while smaller beads can add texture and detail.
- Keep It Simple: Especially as a beginner, simplicity often leads to the most beautiful designs. Focus on a few key elements and build your design around them.
3. Learn the Basic Techniques
Now that you have your materials and a design in mind, it’s time to get started with the basics of jewelry-making. Here are a few essential techniques that will help you create stunning handmade jewelry.
a. Stringing Beads (for Necklaces and Bracelets)

Stringing beads is one of the simplest ways to make jewelry. This technique involves threading beads onto a wire, cord, or string and then securing them with knots or clasps.
Steps:
- Cut a piece of wire or cord to the desired length of your necklace or bracelet.
- Arrange your beads in the design you like on a bead mat.
- Begin stringing the beads onto the wire or cord. If you’re using a beading needle, thread it through the beads and pull it along the wire.
- Once you’ve added all the beads, secure the ends with crimp beads and attach a clasp to finish the piece.
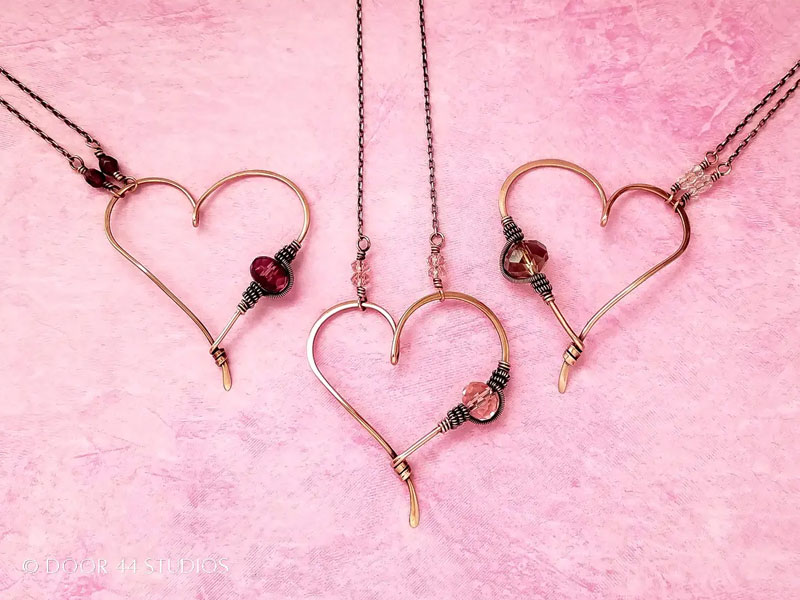
b. Wire Wrapping (for Earrings, Rings, and Pendants)

Wire wrapping is a more advanced technique that involves using wire to create intricate designs, such as wrapping around stones, beads, or other jewelry elements.
Steps:
- Cut a piece of wire long enough to wrap around your focal point (such as a bead or gemstone).
- Use round-nose pliers to create a loop at one end of the wire.
- Continue wrapping the wire around the bead or focal point until you achieve the desired design.
- Finish by securing the wire with a tight loop or knot at the end.
Wire wrapping can be used to create delicate loops, pendants, or even the structure for earrings and rings.
c. Making Earrings

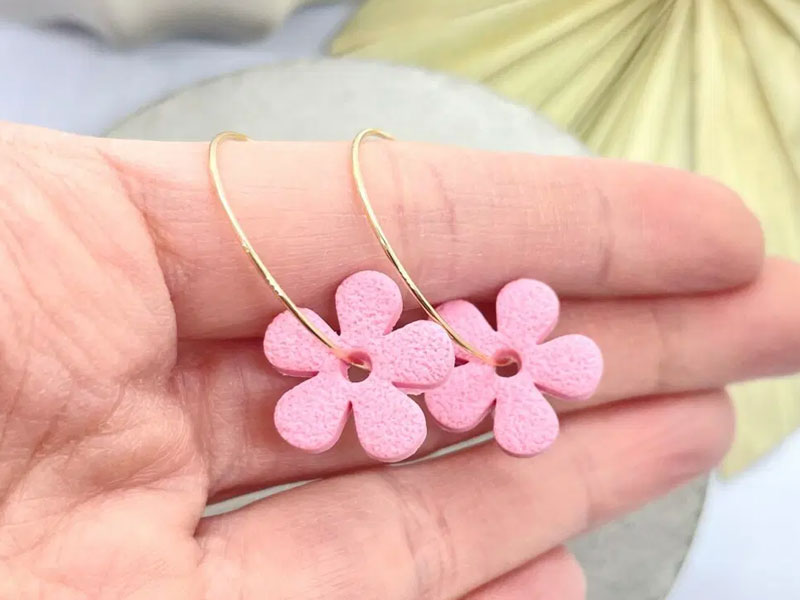
Earrings are one of the easiest types of jewelry to make, and there are a few different methods to choose from, such as using ear wires, hoops, or posts. You can attach beads, charms, or pendants to earring findings to create a wide variety of styles.
Steps:
- Choose your earring findings (ear wires, posts, or hoops).
- Use jump rings or headpins to attach beads or charms to the earring findings.
- For dangly earrings, use headpins to thread beads and secure the wire with a loop.
- Attach the headpins to the earring findings and close the jump ring with pliers.
4. Assemble and Finish Your Jewelry
Once all the components of your jewelry are in place, it’s time to assemble the pieces and secure everything together.
- Necklaces: For necklaces, add a clasp to one end using jump rings, and use a crimp bead to secure the wire or cord.
- Bracelets: For bracelets, you can use elastic cord (for stretch bracelets) or attach a clasp using crimp beads and jump rings.
- Rings: If you’re making a wire-wrapped ring, use ring mandrels to shape the wire around your finger size, and finish by securing the ends with wire loops.
Additional Tips:
- Use a jewelry polishing cloth to clean your finished piece and make it shine.
- If you’re using metal, such as sterling silver or brass, consider using a protective coating to prevent tarnishing.
5. Practice, Experiment, and Personalize
The more you practice, the more confident you’ll become with the techniques and materials. Don’t be afraid to experiment with new designs, textures, and combinations of materials. The beauty of handmade jewelry is that you can continuously evolve your craft and create something uniquely yours.
Personalize your jewelry by incorporating meaningful symbols, gemstones, or charms that reflect your personality, interests, or experiences. The sky’s the limit when it comes to creativity, and with every piece, you’ll learn new techniques and enhance your skills.
Final Thoughts
Creating handmade jewelry is a rewarding and creative endeavor that allows you to express your individuality. With the right materials, tools, and techniques, you can start making stunning pieces that showcase your personal style. Whether you’re creating jewelry for yourself or gifting it to others, each piece you make is a reflection of your craftsmanship and imagination.
Remember, practice is key to improving your skills, so don’t be discouraged if your first pieces aren’t perfect. With time, you’ll develop a unique style and become more proficient in the art of jewelry-making. So, gather your supplies, unleash your creativity, and start crafting your own beautiful handmade jewelry today!

