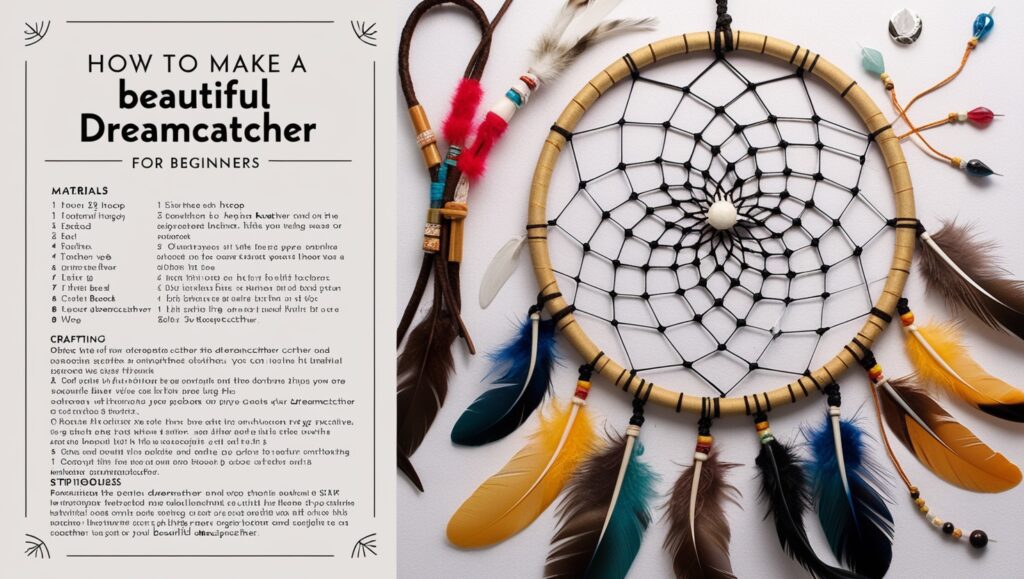
Guide to Creating a Dreamcatcher
Dreamcatchers are not only beautiful decorations, but they also carry deep cultural and spiritual significance. Originating from the Native American Ojibwa (Chippewa) tribe, dreamcatchers are believed to protect individuals from negative dreams and spirits while letting positive ones pass through. Creating your own dreamcatcher can be a fun, creative, and meaningful project. Whether you’re crafting one for yourself, a gift, or simply as a new addition to your space, this step-by-step guide will walk you through the process of making your very own dreamcatcher.
Materials You’ll Need:
- A metal or wooden hoop (This can be any size you prefer, depending on the size of your dreamcatcher.)
- String or thread (You can use embroidery floss, yarn, or thin cord.)
- Feathers (A variety of feathers can add an artistic touch.)
- Beads (These will be threaded into the web for decoration.)
- Scissors
- Hot glue gun and glue sticks (Optional, for attaching feathers and beads.)
- Needle (To help with threading the string.)
- Leather or fabric strips (For hanging the dreamcatcher.)
- Waxed thread or sinew (For the webbing part of the dreamcatcher.)
- Pliers (Optional, for tightening the loop of the hoop.)
Step 1: Prepare Your Hoop
Start by selecting a hoop that fits your desired size for the dreamcatcher. You can use a metal hoop, an embroidery hoop, or even a flexible branch or willow twig to create a more natural look. If you’re using a metal hoop, you might want to wrap it with leather, fabric, or thread for a more polished appearance. Wrap your chosen material tightly around the hoop until it’s fully covered, securing the ends with a dab of hot glue if necessary.
Step 2: Create the Web Base
Now, you’ll start creating the intricate web design that defines a dreamcatcher. To do this, take a piece of your chosen waxed thread or sinew, and tie one end of it tightly to the hoop. Guide to Creating a Dreamcatcher Begin wrapping the thread around the hoop to form the base. It’s important to keep the thread taut but not too tight, as this will help in forming the even loops that make up the webbing.
Next, create evenly spaced loops around the hoop. To make these loops, simply loop the thread over the hoop and cross it over the previous one. Repeat this process until you’ve gone all the way around the hoop. This will give you the first row of your web.
Step 3: Weaving the Dreamcatcher Web
Once your base is complete, it’s time to start the actual web. To create the dreamcatcher’s web, take the string and continue weaving it across the existing loops.
- Begin by threading the string through the first loop, making a knot at the starting point.
- Then, bring the string across to the next loop, threading it through and pulling it taut.
- Continue this process, weaving the string in and out of each loop in a clockwise pattern, moving toward the center of the hoop.
- As you move inward, you will create more intricate patterns. Keep the string taut to ensure the web remains tight and neat.
If you want, you can add beads to the web by threading them into the string as you weave. This will give your dreamcatcher a unique and decorative touch. Once you’ve reached the center, tie off the string securely to prevent it from unraveling.
Step 4: Adding Feathers and Beads
One of the most defining features of a dreamcatcher is the decoration on the bottom. After finishing the web, you can add feathers and beads to the bottom of the hoop for added charm.
To attach feathers, take a piece of string and tie it around the quill of each feather. Then, use the hot glue gun or thread to attach them securely to the bottom of the hoop. You can arrange the feathers to hang in a symmetrical fashion or stagger them for a more whimsical look.
Additionally, you can add beads onto the feathers themselves for extra detail. Beads can also be strung on the leather or fabric strips that hang from the dreamcatcher, or they can be added between the feather tassels.
Step 5: Creating the Hanging Loop
Finally, you’ll need to create a way to hang your dreamcatcher. To do this, take a piece of leather or fabric strip, and tie it to the top of the hoop, making sure the knot is tight enough to support the weight of the dreamcatcher. You can also wrap the top of the hoop with a colorful thread for extra decoration and security.
Once your loop is in place, trim any excess material and secure it with glue if necessary. Your dreamcatcher is now ready to be hung up. Guide to Creating a Dreamcatcher
Final Touches and Display
To display your dreamcatcher, choose a location that is meaningful to you. Many people hang them above their beds to ensure peaceful dreams, but you can also hang them in windows or in any room of the house to bring in positive energy. As you admire your handcrafted creation, remember the symbolism it carries and the time and effort you invested in making it.
Final Thoughts
Creating a dreamcatcher is a meditative and fulfilling process, and each step allows you to express your creativity and personal style. Whether you’re crafting it for yourself, as a gift, or as a decorative piece for your home, your dreamcatcher will surely bring a unique touch of beauty and meaning to any space. By following this step-by-step guide, you’ll not only make a stunning piece of art but also carry on a centuries-old tradition that promotes peace and positivity.

