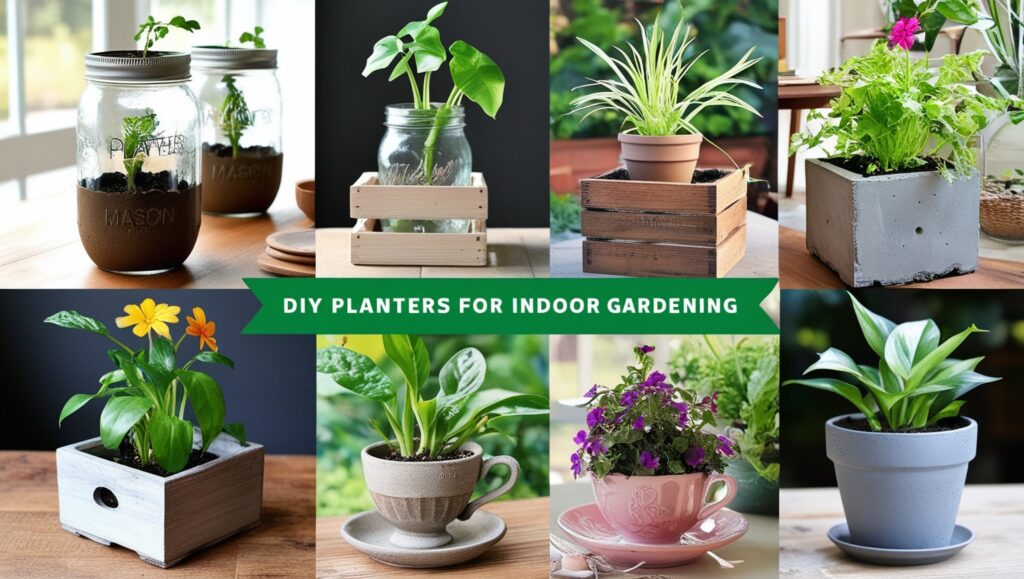
DIY Planters for Your Home Ideas for Indoor Gardening
Indoor gardening has become a popular trend in recent years, and for good reason. Not only does it bring a touch of nature inside, but it can also help improve air quality and add a fresh, vibrant atmosphere to any space. One of the best ways to enhance your indoor garden is by creating your own DIY planters. Not only is this a fun and creative project, but it also allows you to personalize your space with unique planters that match your home’s décor and style.
In this blog post, we’ll explore a variety of DIY planter ideas that can elevate your indoor gardening game. Whether you have a green thumb or you’re just starting out with houseplants, these creative projects will help you bring greenery into your home in an affordable, stylish, and sustainable way.
1. Mason Jar Planters – Simple, Rustic Charm

Mason jars are versatile and can easily be repurposed into charming planters for indoor gardening. With their rustic appeal, they’re perfect for adding a vintage touch to your home. Mason jar planters are also ideal for small plants, succulents, or herbs.
How to Make It:
- Materials Needed: Mason jars, pebbles or gravel, potting soil, small plants (like succulents or herbs).
Instructions:
- Clean and dry your mason jars thoroughly.
- Place a layer of pebbles or gravel at the bottom of the jar to help with drainage.
- Fill the jar with potting soil, leaving some room at the top.
- Add your plants and arrange them neatly.
- For a decorative touch, you can tie a ribbon or twine around the neck of the jar.
- Place the mason jars on a windowsill or shelf to give your space a charming rustic vibe.
Pro Tip: Mason jar planters can also be hung from the ceiling to create a floating garden effect. Simply attach some twine or string to the jar lid and suspend them from a hook or nail.
2. Wooden Crate Planters – Rustic and Stylish
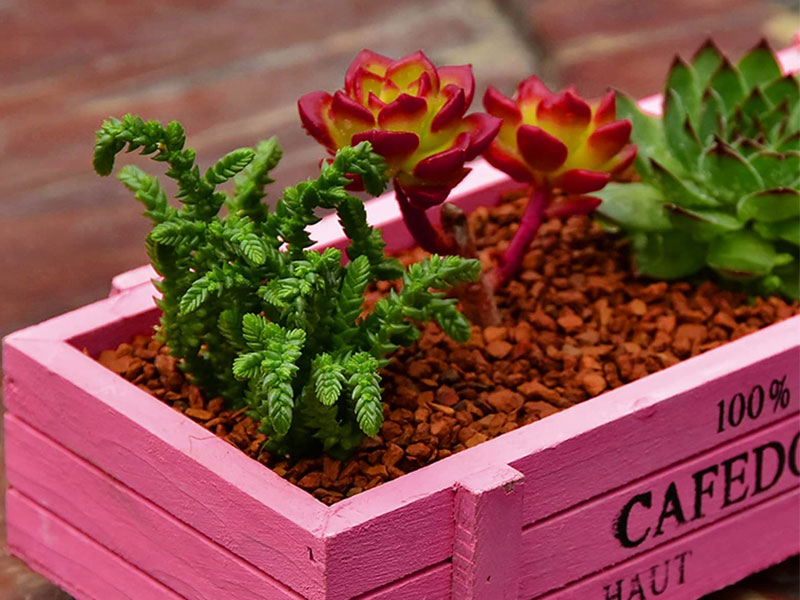
Wooden crates bring a rustic yet stylish element to any room, and they’re perfect for creating larger planter boxes for multiple plants. This is an excellent option if you want to make a statement with your indoor garden and add more greenery to a specific area.
How to Make It:
- Materials Needed: Wooden crates, drill, screws, liner fabric, potting soil, plants (medium-sized indoor plants or flowers).
Instructions:
- Start with a wooden crate—these are easily available at craft stores or even old crates you might have lying around.
- Drill a few holes at the bottom of the crate for drainage.
- Line the inside of the crate with fabric or plastic to prevent soil from falling through the cracks.
- Fill the crate with potting soil and add your plants.
- Place the wooden crate planter in a sunny spot or use it as a centerpiece on a table.
Pro Tip: You can paint the wooden crate to match your décor or leave it natural for a rustic, farmhouse look.
3. Hanging Planter Basket – Boho Vibes
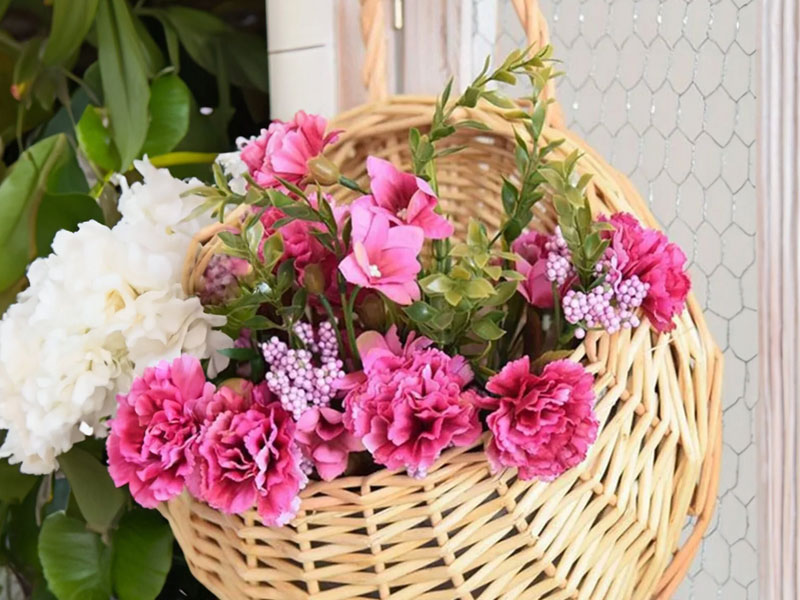
Hanging planters can help you save space and add a whimsical touch to your indoor garden. Whether you hang them from the ceiling, a wall hook, or a window sill, these planters will bring a sense of freedom and bohemian charm to your home.
How to Make It:
- Materials Needed: Small plant pots, macramé cord, wooden ring or dowel, plants (such as pothos or ivy).
Instructions:
- Begin by creating a macramé hanger. There are many online tutorials available for creating different macramé patterns, such as knots and braids.
- Attach a wooden ring or dowel at the top of the hanger.
- Place a small plant pot inside the macramé hanger, ensuring the plant is secure.
- Hang the planter from the ceiling or from a sturdy hook on the wall.
- Allow the trailing vines or leaves to cascade down for a stunning boho effect.
Pro Tip: Choose plants that have trailing vines for hanging planters, such as pothos, ivy, or string of pearls. These plants look beautiful when they cascade down.
4. Concrete Planters – Modern and Sleek
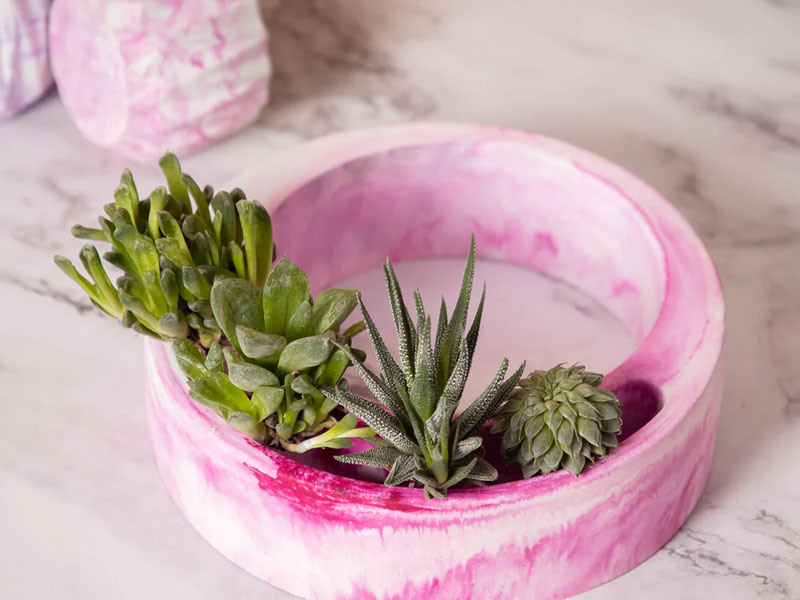
Concrete planters are perfect for those looking to add a contemporary, industrial vibe to their indoor garden. These planters are durable, stylish, and can be made in various shapes and sizes to suit your space.
How to Make It:
- Materials Needed: Concrete mix, silicone mold (or a plastic container), water, gloves, sandpaper.
Instructions:
- Mix the concrete according to the instructions on the package.
- Pour the mixture into a silicone mold or a plastic container to form the shape of your planter.
- Insert a smaller container in the middle to create space for the plant. This will serve as the hole for the plant later on.
- Allow the concrete to set and dry for 24-48 hours.
- Once dry, remove the planter from the mold and sand the edges for a smooth finish.
- Fill the planter with potting soil and add your plants.
Pro Tip: If you want a more polished look, you can paint the concrete planter with metallic or matte paint to add a modern flair.
5. Teacup Planters – Whimsical and Vintage
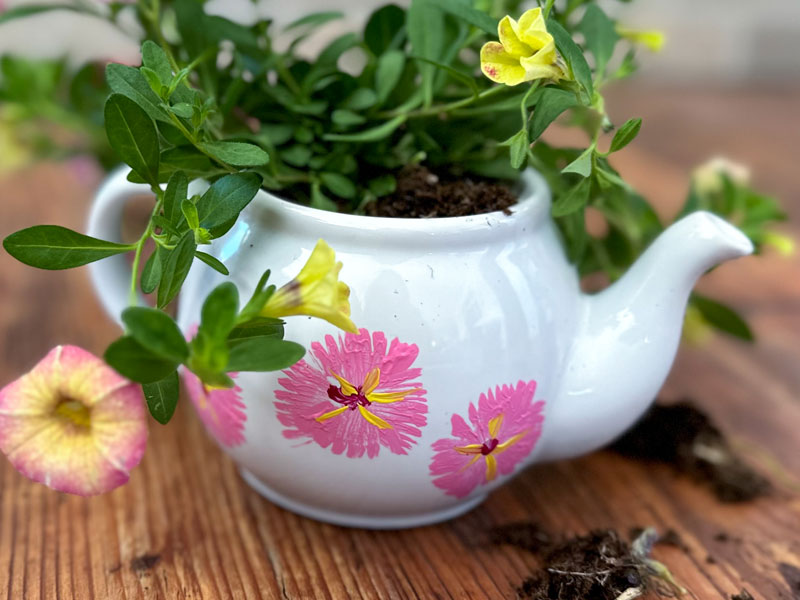
Repurpose old teacups and saucers into adorable planters for small succulents, cacti, or flowers. Teacup planters are a great way to add a whimsical and vintage touch to your home while giving old items a second life.
How to Make It:
- Materials Needed: Teacups and saucers, drill (with a ceramic drill bit), small plants, potting soil.
Instructions:
- Drill a small hole at the bottom of the teacup to allow for drainage.
- Place a layer of small stones or pebbles at the bottom of the teacup.
- Fill the teacup with potting soil and add your plant.
- Place the saucer underneath the teacup to catch excess water.
- Display these unique planters on your desk, bookshelf, or windowsill.
Pro Tip: If you don’t have a drill, you can use a small container like a glass jar or bowl without drainage holes for a simple display piece.
6. Plastic Bottle Planters – Eco-Friendly and Creative
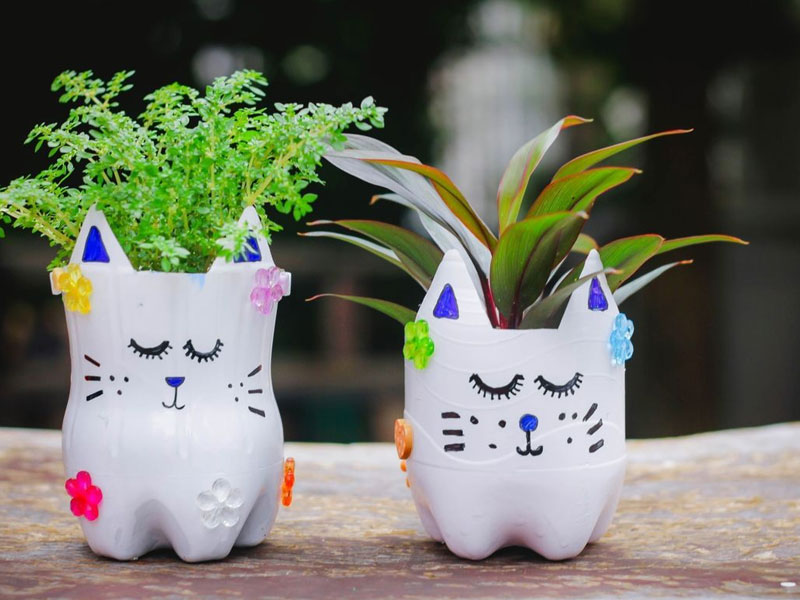
Repurposing plastic bottles into planters is an excellent way to reduce waste while adding an eco-friendly touch to your indoor garden. You can easily turn a plastic bottle into a vertical garden or hanging planter, depending on your style and space.
How to Make It:
- Materials Needed: Plastic bottles, scissors or utility knife, string (optional for hanging), plants, soil.
Instructions:
- Cut the plastic bottle in half or leave it whole, depending on the size of the plant.
- If using the whole bottle, you can create holes for drainage by poking them with a knife or scissors.
- Fill the bottle with soil and add your plant.
- If you prefer hanging planters, you can attach string to the top and suspend the bottle.
- If you cut the bottle in half, you can place the bottom part upside down as a catchment tray for water.
Pro Tip: Paint or decorate the outside of the plastic bottle to match your décor. You can also wrap it with twine or fabric for a rustic look.
Final Thoughts
Creating your own DIY planters for indoor gardening not only enhances the beauty of your home but also provides a rewarding creative outlet. Whether you prefer the rustic charm of mason jars, the modern sleekness of concrete planters, or the eco-friendly appeal of plastic bottle planters, there are endless ways to personalize your indoor garden with unique, handmade planters.
These DIY projects are not only fun but also help you connect with nature, bringing a breath of fresh air into your home. So, gather your materials and start creating your own indoor garden oasis today!

