
DIY Paper Quilling
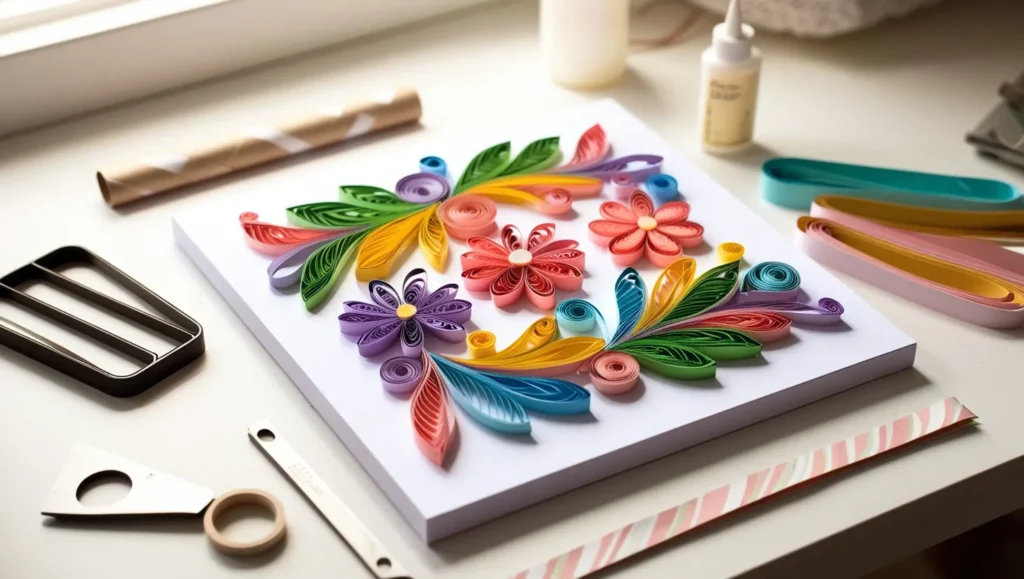
Paper quilling is a beautiful and intricate craft that transforms simple strips of paper into stunning designs. DIY Paper Quilling Whether you’re a complete beginner or looking to refine your skills, paper quilling is an affordable, relaxing, and creative way to make unique art, cards, home décor, and gifts.
In this guide, we’ll cover the basics of paper quilling, the tools you need, and some easy projects for beginners to help you get started.
What Is Paper Quilling?
Paper quilling, also known as paper filigree, is an art form that involves rolling, shaping, and gluing thin strips of paper to create intricate designs. It’s been practiced for centuries and is now popular in DIY crafts, card-making, and home décor.
Quilling is great for:
✔ Handmade greeting cards
✔ Wall art and framed designs
✔ Jewelry and accessories
✔ Scrapbooking decorations
✔ Personalized gifts
The best part? It’s easy to learn and requires minimal supplies!
Essential Tools & Materials for Paper Quilling
To start quilling, you’ll need a few basic tools:
1. Quilling Paper Strips
- Pre-cut quilling paper strips are available in craft stores.
- Standard size: 3mm, 5mm, or 10mm width.
- You can also cut your own strips from colored paper.
2. Quilling Tool
- A slotted quilling tool is best for beginners.
- A needle tool works well for advanced, delicate designs.
3. Glue & Applicator
- Use clear-drying craft glue.
- A fine-tip glue bottle or a toothpick helps with precision.
4. Tweezers
- Helps pick up and adjust small quilled shapes.
5. Quilling Board (Optional)
- A board with circles for shaping consistent quilled coils.
6. Scissors & Ruler
- For cutting strips and measuring designs.
Once you have these tools, you’re ready to start quilling!
Basic Paper Quilling Techniques
Before diving into projects, practice these fundamental quilling shapes:
1. Tight Coil
- Roll a paper strip using a slotted tool and secure the end with glue.
- Used for centers of flowers, eyes, and small details.
2. Loose Coil
- Roll a strip, remove it from the tool, and let it expand before gluing.
- Commonly used for petals, circles, and borders.
3. Teardrop Shape
- Create a loose coil and pinch one end. DIY Paper Quilling
- Ideal for flower petals and leaves.
4. Marquise (Eye) Shape
- Pinch both ends of a loose coil.
- Used for flower petals, feathers, and decorative patterns.
5. Scrolls (Open Coils)
- Roll a strip partway and leave it unglued.
- Perfect for swirls, vines, and decorative flourishes.
Pro Tip: Practice making these shapes first before starting a full project!
Easy Paper Quilling Projects for Beginners
Now, let’s try some simple but beautiful DIY quilling projects!
1. Quilled Flower Card
A perfect handmade greeting card for birthdays, anniversaries, or thank-you notes. DIY Paper Quilling
Steps:
1️⃣ Create 5-6 teardrop shapes for flower petals.
2️⃣ Make a tight coil for the center of the flower.
3️⃣ Arrange the petals around the center and glue them onto a blank card.
4️⃣ Add quilled leaves (marquise shapes) and swirls for decoration.
5️⃣ Write a heartfelt message inside the card!
✔ Skill Level: Easy
✔ Time Required: 20-30 minutes
2. Quilled Butterfly 🦋
A lovely piece for wall art or bookmarks.
Steps:
1️⃣ Make four marquise shapes for the wings.
2️⃣ Create two tight coils for the body.
3️⃣ Use scrolls for antennae.
4️⃣ Arrange and glue all pieces together.
✔ Skill Level: Beginner
✔ Time Required: 30-40 minutes
3. Quilled Heart Pendant ❤️
A cute jewelry piece or keychain charm.
Steps:
1️⃣ Make two tight coils and shape them into half-hearts.
2️⃣ Join the halves to form a full heart.
3️⃣ Attach a small jump ring for a necklace or keychain.
✔ Skill Level: Easy
✔ Time Required: 20 minutes
4. Quilled Monogram Letter 🔠
A personalized wall decoration or framed gift.
Steps:
1️⃣ Draw a large letter on cardboard or cardstock.
2️⃣ Outline the letter with quilled strips.
3️⃣ Fill the inside with various quilled shapes.
4️⃣ Let it dry and frame it for a stylish décor piece!
✔ Skill Level: Moderate
✔ Time Required: 1-2 hours
5. Quilled Snowflake Ornament ❄️
A festive winter decoration for Christmas or New Year.
Steps:
1️⃣ Make six marquise shapes for the main snowflake structure.
2️⃣ Add small tight coils and swirls for extra detail.
3️⃣ Assemble and glue all parts.
4️⃣ Attach a ribbon loop for hanging.
✔ Skill Level: Intermediate
✔ Time Required: 45 minutes
Tips for Perfect Paper Quilling
✨ Use minimal glue – Too much glue can ruin delicate designs.
✨ Be patient – Quilling takes time, but the results are worth it!
✨ Mix colors – Combining different shades adds depth to designs.
✨ Experiment – Try different shapes, sizes, and patterns to create unique designs.
✨ Frame your work – Protect and display your quilled artwork in a shadow box.
Final Thoughts
Paper quilling is an affordable, relaxing, and rewarding hobby that allows you to express creativity through intricate designs. DIY Paper Quilling With just a few tools and some practice, you can create beautiful artwork, gifts, and decorations.
Now it’s your turn! DIY Paper Quilling Which quilling project are you excited to try? Share your thoughts in the comments below! 🎨✨