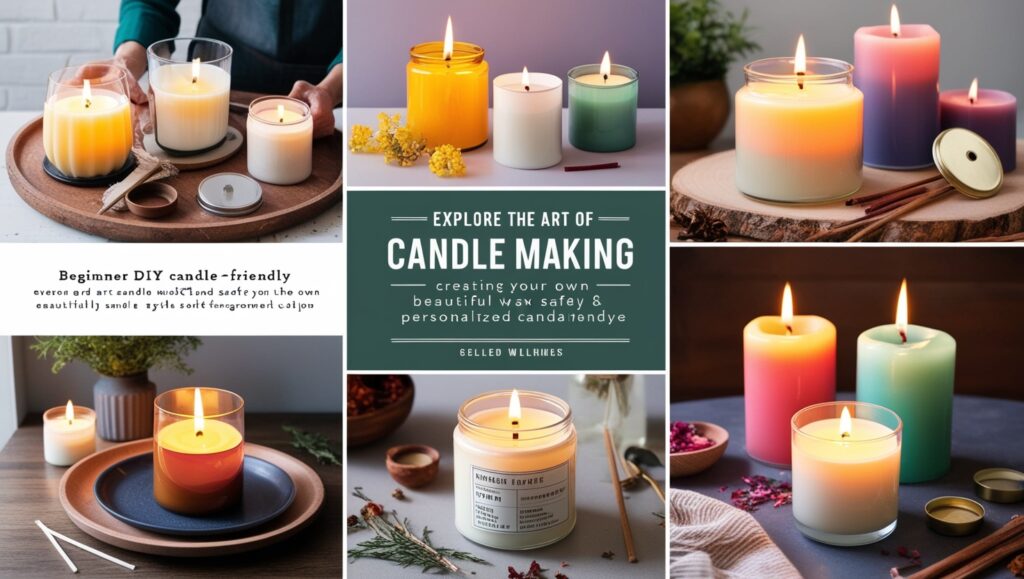
DIY Candle Making A Beginners Guide
Making your own candles is a fun, relaxing, and creative way to personalize your space. Whether you’re looking to create unique scents or design custom gifts, this beginner’s guide will walk you through the essential steps of candle making, including choosing materials, selecting fragrances, and understanding the basics of wax and wicks.
1. Gather Your Candle-Making Supplies
To start, you’ll need a few key items:
- Wax: Soy, beeswax, and paraffin are popular options for beginners. Soy wax is easy to work with, eco-friendly, and produces a clean burn.
- Wicks: The size and type of wick are important. For instance, wood wicks provide a crackling sound while cotton wicks burn steadily.
- Containers or Molds: Glass jars, tins, or silicone molds can be used depending on your candle’s look.
- Fragrance Oils: Essential oils or fragrance oils add scent. Ensure they’re candle-safe and suited for burning.
- Color Dyes (Optional): Liquid dyes or dye chips can add a pop of color to your candles.
2. Prepare Your Workspace
Set up a clean, well-ventilated space with all your materials within easy reach. Place old newspaper or parchment paper down to catch any wax spills. Ensure you have a heat source, such as a double boiler, to melt the wax safely and evenly.
3. Choose Your Wax Type
Each type of wax has unique properties, so choosing the right one can impact the appearance, scent throw, and burning time of your candle:
- Soy Wax: Great for eco-friendly, smooth-finish candles with a subtle fragrance throw.
- Beeswax: A natural choice with a soft honey scent. It burns longer but is pricier.
- Paraffin Wax: Known for vibrant colors and a strong scent throw, though less eco-friendly than other options.
4. Measure and Melt the Wax
Measure enough wax to fill your container, adding a bit extra to account for shrinkage as it cools. Use a double boiler to gently melt the wax. Stir occasionally, making sure it melts evenly without burning. When using soy wax, a common melting point is around 120-180°F.
5. Add Fragrance and Color
Once your wax has reached the right temperature (usually around 160-170°F for soy wax), it’s time to add fragrance. Use around 1 ounce of fragrance oil for every pound of wax. Stir slowly and thoroughly for even distribution. If you’re adding color, add a few drops or shavings, mixing until the color is uniform.
6. Attach the Wick
Before pouring, secure the wick at the center of your container. Use a dab of hot wax or a glue dot to stick the wick to the bottom. A wick holder or clothespin can help keep the wick upright during pouring and cooling.
7. Pour the Wax
Allow the wax to cool slightly (to around 140-150°F) before pouring into the container. Slowly pour to minimize bubbles and ensure a smooth surface. Leave some space at the top of the container, then let the candle sit undisturbed for several hours until fully set.
8. Trim the Wick and Enjoy
Once the candle is completely cool and solid, trim the wick to about ¼ inch. This length helps prevent excessive smoking and ensures an even burn. You can now enjoy your handmade candle or wrap it up as a beautiful, personalized gift.
Tips for Beginner Candle Makers
- Experiment with Fragrance Combinations: Mix different essential oils or fragrance oils to create unique scents.
- Test Burn Times: Every candle varies based on wax, wick size, and container, so test burn for a few hours to check performance.
- Keep Safety in Mind: Always handle hot wax carefully and work in a well-ventilated area to avoid inhaling fumes.
Final Thoughts
With these steps, you’ll be well on your way to creating beautiful, aromatic candles that reflect your style and creativity. Happy candle making!

