
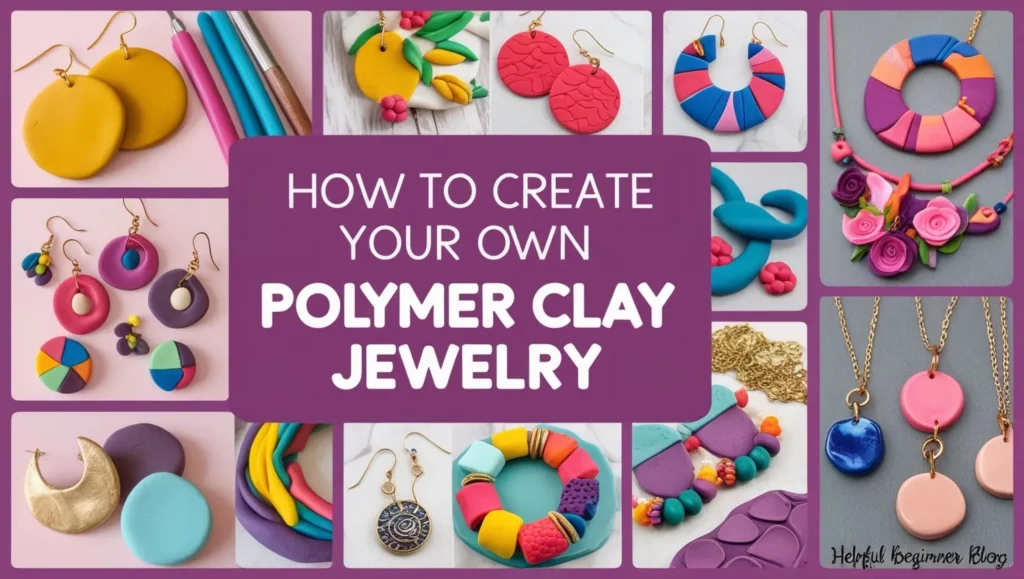
Create Your Own Polymer Clay Jewelry
Polymer clay jewelry is a fantastic and creative way to add personalized flair to your accessories. Whether you’re a beginner or have some crafting experience, creating your own polymer clay jewelry can be a rewarding and therapeutic experience. Create Your Own Polymer Clay Jewelry Not only is it an opportunity to express your creativity, but the pieces you make can become stunning statement accessories that are truly one-of-a-kind.
In this blog, we’ll guide you through the process of creating beautiful polymer clay jewelry, from the basics to advanced techniques. Create Your Own Polymer Clay Jewelry By the end, you’ll be able to create your very own earrings, necklaces, bracelets, and more!
What is Polymer Clay?
Polymer clay is a versatile modeling material made from a synthetic polymer base, often combined with pigments and other additives to achieve various colors and textures. Create Your Own Polymer Clay Jewelry Unlike natural clay, it doesn’t require a kiln for firing. Instead, it’s baked in a regular oven, making it incredibly accessible for crafters of all levels. It is lightweight, durable, and comes in a vast array of colors, allowing you to make unique and custom designs.
Materials You’ll Need
Before you begin creating your polymer clay jewelry, gather the following materials:
- Polymer Clay – Choose from a variety of colors. Popular brands include Sculpey, Fimo, and Premo.
- Baking Sheet and Parchment Paper – For baking your pieces.
- Clay Tools – Use tools like a rolling pin, blade, dotting tools, texture sheets, or stamps for shaping and texturing your clay.
- Jewelry Findings – These include earring hooks, jump rings, necklace chains, bracelet links, and more.
- Craft Knife or Clay Blade – For cutting and shaping the clay.
- Glaze (Optional) – To add a glossy finish to your pieces.
- Oven – To bake the polymer clay and harden it.
Step 1: Prepare the Clay
Start by kneading the polymer clay in your hands until it becomes soft and pliable. This step is important because it helps to remove air bubbles that could cause your pieces to crack when baking. Create Your Own Polymer Clay Jewelry You can also mix different colors of polymer clay together to create custom shades or marbled effects.
- Tip: If you’re using multiple colors, you can create marbled designs by rolling different colors together and twisting them to create beautiful swirls.
Step 2: Shape Your Jewelry
Next, begin forming the shapes for your jewelry. Here are some popular design ideas:
- Earrings: For stud or dangle earrings, flatten the clay and use a round cutter or a small glass to cut out circles or shapes. You can experiment with geometric designs, abstract patterns, or floral shapes.
- Necklaces and Pendants: Create a pendant by shaping the clay into unique forms like hearts, triangles, or abstract designs. You can also incorporate texture by pressing stamps, lace, or fabric into the clay before baking.
- Bracelets: Use a rolling pin to roll out the clay into thin sheets. Cut out thin strips and connect them to create bracelet links, or create beads to string together for a beaded bracelet.
- Tip: Be sure to add a hole where needed, like at the top of a pendant or earring, so you can attach findings later.
Step 3: Texture and Detail
For added creativity, use various tools to texture your clay. You can imprint designs with rubber stamps, texture sheets, or even household items like lace or fabric. This is the step where you can really get creative, adding intricate patterns or even tiny details like tiny flowers or lines.
You can also add embellishments, such as glitter, small crystals, or even metallic powders, which can be applied before baking. For an elegant touch, try painting small details or adding gold leaf after baking.
Step 4: Baking the Clay
Once you’re happy with the shape and design of your jewelry, it’s time to bake the polymer clay. Preheat your oven according to the manufacturer’s instructions (usually between 265°F and 275°F, or 130°C to 135°C). Place your clay pieces on a baking sheet lined with parchment paper and bake them for 15-30 minutes, depending on the thickness of your pieces.
- Tip: Be sure to watch your pieces while they bake. Polymer clay can burn if left too long, so it’s best to follow the recommended baking time and temperature for your specific brand of clay.
Step 5: Assemble Your Jewelry
Once your clay pieces have cooled down and hardened, it’s time to assemble them into jewelry! Here’s how you can do this:
- Earrings: If you’ve created earring pieces, attach them to earring hooks using jump rings. You can create simple studs by adding a flat backing to the clay piece.
- Necklaces: Thread your polymer clay pendants onto a necklace chain, or use jump rings to attach the pendant to the chain.
- Bracelets: Connect the clay beads or links using jump rings or create a clasp for your bracelet.
Step 6: Finishing Touches
To give your pieces a polished look, apply a thin layer of glaze to your clay creations. This step is optional but can add a glossy finish that enhances the colors and textures of your jewelry. Be sure to let the glaze dry completely before wearing or gifting your pieces.
You can also add small details, like paint or tiny stones, to give your jewelry a unique and personalized touch.
Final Thoughts
Creating your own polymer clay jewelry is a fun and rewarding craft that allows you to explore your creativity. Whether you’re making earrings for a night out, a personalized necklace for a loved one, or a bracelet to match your favorite outfit, polymer clay gives you the freedom to experiment with colors, shapes, and designs that reflect your unique style.
As you practice, you’ll continue to refine your technique and learn new ways to incorporate texture, patterns, and details into your creations. So get started today—your next favorite accessory might just be a handmade masterpiece!
Happy crafting!