
Common DIY Mistakes and How to Fix Them
DIY (Do-It-Yourself) projects can be a rewarding way to save money, personalize your living space, or simply engage in a fun hobby. However, while DIY projects offer a great sense of accomplishment, they also come with their fair share of challenges. Even the most seasoned DIY enthusiast can make mistakes along the way. The key to a successful DIY experience is knowing how to fix these mistakes when they happen. In this blog, we’ll explore some of the most common DIY mistakes and how to fix Common DIY Mistakes and How to Fix Them them, ensuring that your next project is smoother and more enjoyable.
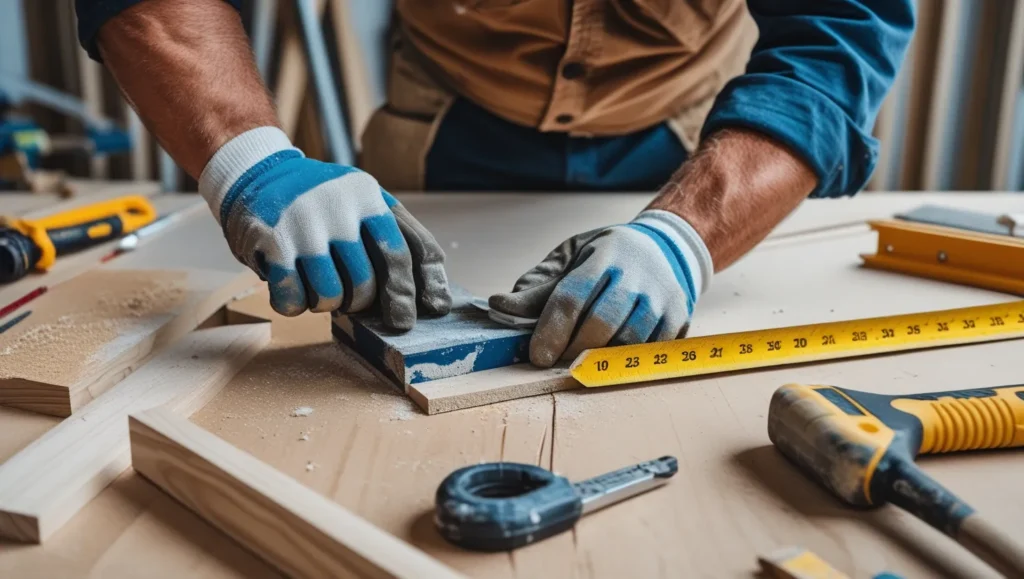
1. Not Planning or Measuring Properly
One of the most frequent DIY mistakes is jumping into a project without taking the time to properly plan or measure. Whether you’re installing shelves, laying tiles, or cutting wood, improper measurements can lead to wasted materials and time.
How to Fix It:
- Take Accurate Measurements: Always double-check your measurements before making any cuts or purchases. It’s better to measure twice and cut once than to make costly errors.
- Create a Plan or Blueprint: Before starting any project, sketch out a rough blueprint or plan. This will help you visualize the end result and ensure all parts fit together perfectly.
- Use the Right Tools: Ensure you’re using the proper measuring tools for the job. A level, measuring tape, and square are essential for accuracy in many projects.
2. Not Using the Right Tools
Using the wrong tools for the job can cause serious issues, from creating sloppy results to damaging your materials. Whether it’s using a hammer instead of a mallet or a screwdriver when you should be using a drill, choosing the wrong tools can set your project back.
How to Fix It:
- Invest in Quality Tools: You don’t need to have every tool available, but make sure you have the basics. A well-equipped toolkit with quality items will save you frustration and deliver better results.
- Read Instructions: Check if any specific tools are recommended for your project. Sometimes, a simple adjustment in your tools can make a world of difference.
3. Ignoring Safety Protocols
Safety should always be a priority during any DIY project. Common mistakes include neglecting safety gear, working without proper ventilation, or not following the Common DIY Mistakes and How to Fix Them correct safety procedures when handling tools or materials.
How to Fix It:
- Wear Protective Gear: Always wear safety glasses, gloves, and a dust mask when necessary. These simple precautions can prevent injury and ensure a safer work environment.
- Follow Instructions: Read the safety instructions for all tools and materials you’re using. Ignoring these can lead to accidents.
- Work in a Ventilated Area: Ensure your workspace is well-ventilated, especially when working with chemicals, paints, or any materials that can release fumes.
4. Overcomplicating the Project
Many DIYers make the mistake of overcomplicating projects, thinking that more is always better. For example, trying to add too many decorative touches or incorporating features that aren’t necessary can complicate the process and make the final result less effective.
How to Fix It:
- Stick to Simple Designs: Keep your projects simple, especially if you’re a beginner. Focus on completing the task correctly rather than trying to add too many features.
- Break Down Large Projects: If the project seems overwhelming, break it down into smaller, more manageable tasks. This approach will help you stay on track and finish the job successfully.
5. Improper Surface Preparation
Whether painting a wall, laying tiles, or installing wallpaper, the preparation of the surface is crucial to the success of the project. If you don’t properly clean or prime the surface, the final result can be uneven, peeling, or not as durable.
How to Fix It:
- Clean Thoroughly: Before starting any painting or wallpaper project, make sure the surface is free of dust, grease, and dirt. Use appropriate cleaning solutions and allow the surface to dry fully.
- Use Primer: For painting or staining, using a good quality primer can make a significant difference in how the finish adheres and lasts.
- Smooth the Surface: Ensure that any rough patches on the wall or surface are smoothed out before starting. Sanding can make the final product much more professional-looking.
6. Skipping the Prep Work
Skipping essential prep work can lead to poor results, especially in projects that Common DIY Mistakes and How to Fix Them involve multiple steps. Many DIYers assume they can “wing it” without prepping all their materials or tools.
How to Fix It:
- Organize Your Materials: Before starting, gather all the necessary materials and tools you’ll need for the project. This will prevent any interruptions midway through the task.
- Prep the Space: Clear the area and set up proper workstations. For example, cover floors with drop cloths when painting or laying down tiles to avoid unnecessary mess.
7. Underestimating the Time and Effort
It’s easy to underestimate the time and effort required for a DIY project, especially when you’re excited to see the results. Many projects end up taking longer than expected, which can lead to frustration.
How to Fix It:
- Set Realistic Timelines: Be honest with yourself about how long a project will take. Factor in extra time for potential mistakes, drying times, or waiting for materials.
- Ask for Help: If the project is larger or more complex, don’t hesitate to ask for help. Whether it’s a friend or a professional, assistance can make the process much more manageable.
8. Failing to Fix Mistakes Early
One of the biggest mistakes DIYers make is failing to correct mistakes as soon as they happen. Whether it’s a crooked line, a gap in the tiles, or an uneven paint job, ignoring small errors can result in a bigger problem later on.
How to Fix It:
- Address Issues Immediately: If you notice something isn’t right, stop and correct it before moving forward. It’s much easier to fix a small mistake early than to deal with a bigger issue later on.
- Don’t Rush: Take your time with each step of the project. Rushing can lead to Common DIY Mistakes and How to Fix Them careless mistakes, which often require redoing the entire task.
9. Neglecting the Finishing Touches
A project can look great while it’s in progress, but finishing touches like caulking, sanding, or adding a final coat of paint are essential for giving your work a Common DIY Mistakes and How to Fix Them professional look.
How to Fix It:
- Add the Final Details: Don’t skip the finishing touches. Apply a final coat of paint, add trim to your walls, or caulk any gaps to ensure your project looks complete.
- Take Your Time with Clean-Up: Cleaning up the project area and making sure everything is neatly finished adds to the overall appeal and quality of your work.
Final Thoughts
DIY projects can be incredibly rewarding, but they come with their own set of challenges. By being aware of the most common mistakes and how to fix them, you can avoid unnecessary headaches and achieve better results. Remember that Common DIY Mistakes and How to Fix Them preparation, patience, and attention to detail are your best tools. With these tips in mind, you’ll be ready to take on your next project with confidence and skill!