
Beginners Guide to Clay Modelling
Clay modelling is one of the most rewarding forms of art — a hands-on, meditative practice that lets you shape your imagination into tangible form. Beginners Guide to Clay Modelling Whether you want to make decorative items, figurines, or even try your hand at pottery, clay is an incredibly versatile medium that’s perfect for beginners.
In this beginner’s guide, we’ll cover everything you need to know to get started with clay modelling — from choosing the right clay to mastering basic techniques. Beginners Guide to Clay Modelling By the end, you’ll feel confident enough to start creating your own little masterpieces.
🎨 Why Try Clay Modelling?
Before diving into the tools and techniques, here are some great reasons to try clay modelling:
- Boosts creativity and imagination
- Improves hand-eye coordination and motor skills
- Acts as a form of mindfulness and stress relief
- Requires minimal materials to begin
- Fun for all age groups — kids, teens, and adults
🧱 Types of Clay for Beginners
Choosing the right clay is essential for your first project. Here are the most beginner-friendly types:
1. Air-Dry Clay
- No kiln or oven needed
- Great for simple projects and kids
- Can be painted after drying
- Not waterproof unless sealed
2. Polymer Clay (e.g., Fimo, Sculpey)
- Bakes in a regular oven
- Comes in various colors
- Ideal for jewelry, charms, and miniatures
- Durable and smooth
3. Modeling Clay (Non-Hardening)
- Perfect for practice and animation
- Doesn’t dry out — can be reused
- Great for kids and stop-motion projects
4. Ceramic (Potter’s) Clay
- Requires kiln firing
- Used for pottery, functional ware
- Not ideal for absolute beginners unless you have access to a pottery studio
🧰 Essential Tools for Clay Modelling
You don’t need an expensive setup. Here’s a basic toolkit:
- Rolling pin or bottle (to flatten clay)
- Modeling tools (plastic or wooden) for shaping
- Needle tool or toothpick (for fine details)
- Cutter or X-Acto knife
- Texturing tools (old toothbrush, lace, mesh)
- Water and a sponge (for smoothing)
- Cutting mat or non-stick surface
Optional:
- Paints, varnish, or sealants
- Molds or stamps for patterns
✋ Basic Techniques to Start With
1. Conditioning the Clay
Warm the clay in your hands or knead it until it becomes soft and pliable. This prevents cracking and makes it easier to work with.
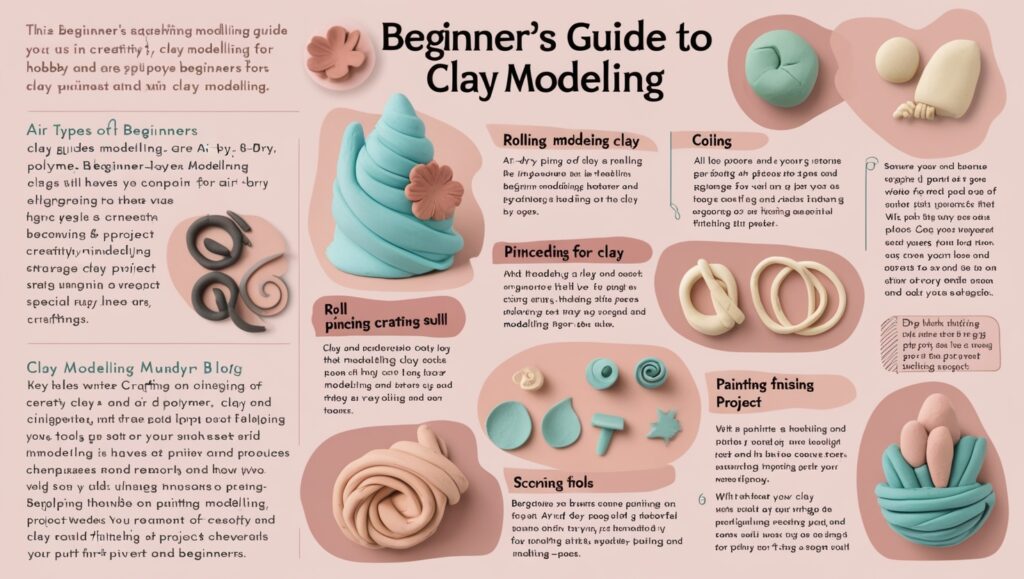
2. Rolling & Flattening
Use a rolling pin to flatten clay evenly. Useful for making slabs, shapes, or cut-outs.
3. Pinching
The pinch pot is one of the simplest forms. Pinch clay between your fingers to form small bowls or heads for figures.
4. Coiling
Roll clay into long snake-like shapes and coil them to build up forms like pots or baskets.
5. Slab Building
Cut flat slabs of clay and join them to create boxes, trays, or geometric sculptures.
6. Scoring and Slipping
When attaching two pieces, scratch the joining surfaces (scoring) and add a bit of clay + water mix (slip) to stick them securely.
7. Smoothing and Shaping
Use your fingers, water, and tools to refine the surface. Smooth seams, sharpen edges, and clean details.
🧠 Creative Project Ideas for Beginners
Need inspiration? Try these fun and easy projects:
- Mini clay animals or characters
- Clay beads or pendants
- Pinch pots for rings or coins
- Fridge magnets with stamps
- Clay plant markers
- Tiny planters or candle holders
- Wall hangings with shapes or symbols
Remember: perfection is not the goal — expression is.
🎨 Painting and Finishing
Once your model is dry (air-dry or baked), it’s time to decorate!
- Use acrylic paints for bold, bright colors
- Add details with fine brushes or markers
- Finish with a sealant or varnish to protect your creation and add shine
🧼 Cleaning and Safety Tips
- Wash hands and tools after use
- Use a dedicated space and tools (don’t mix kitchen tools!)
- Cover surfaces with a mat or newspaper
- Store unused clay in airtight containers
- Supervise young children during modeling and baking
🧘♀️ The Mindful Side of Clay Modelling
Beyond the fun and creativity, working with clay is therapeutic. The rhythmic motions of shaping and smoothing are known to reduce anxiety, improve focus, and help you enter a state of flow.
So take your time. Breathe. Sculpt. Let the clay guide you.
Final Thoughts
Clay modelling is more than just an art form — it’s a practice in patience, creativity, and joy. Beginners Guide to Clay Modelling Whether you’re crafting for fun, gifting handmade pieces, or exploring a new hobby, starting with clay is an accessible and fulfilling experience.
All you need is a bit of clay and a curious heart. The rest? You’ll shape it along the way.