
Beginner’s Guide to Contouring
Contouring is one of the most transformative makeup techniques — it defines your features, enhances your natural beauty, and gives your face dimension and structure.
While it may look complicated at first, mastering the basics of contouring is actually easier than you think. The secret lies in understanding your face shape, using the right products, and blending correctly.
Whether you want a soft everyday look or a bold glam finish, this beginner-friendly guide will help you learn how to contour like a pro.
1. Understand What Contouring Does
Contouring is all about creating shadows and highlights to sculpt your face:
- Contour: Adds depth and definition (use a shade darker than your skin tone).
- Highlight: Brings light to the high points of your face (use a lighter shade).
Together, they enhance your natural structure — your cheekbones, jawline, and nose stand out beautifully.
2. Know Your Face Shape
Different face shapes require different contour placements.
- Round face: Contour under cheekbones and along the jawline to create more definition.
- Square face: Soften the jawline and forehead edges.
- Oval face: Light contour under cheekbones for balance.
- Heart-shaped face: Focus on contouring the forehead and chin areas.
Knowing your shape helps you tailor your contour for the most flattering results.
3. Choose the Right Products
You can contour with either cream, stick, or powder products:
- Cream contour: Great for dry skin and a natural finish.
- Powder contour: Ideal for oily skin and a matte look.
- Contour sticks: Easy to apply and perfect for beginners.
Pro Tip: Choose a contour shade that’s 1–2 shades darker than your foundation and a highlighter that’s 1–2 shades lighter.
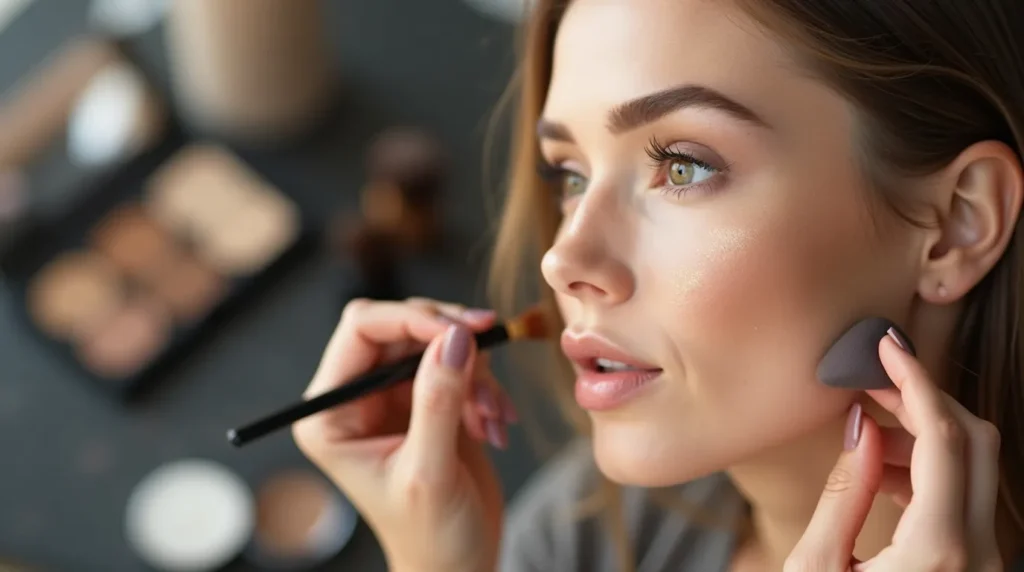
4. Essential Tools You’ll Need
- A contour brush or angled brush for precision.
- A beauty sponge or blending brush for a smooth finish.
- A fan brush for applying highlighter.
Clean tools help blend seamlessly and prevent patchy application.
5. Step-by-Step Contouring Guide
- Prep your face – Start with moisturizer and primer for smooth application.
- Apply foundation – Even out your skin tone before contouring.
- Contour placement:
- Under cheekbones
- Along jawline
- Sides of the nose
- Around the temples
- Highlight placement:
- Center of the forehead
- Bridge of the nose
- Under the eyes
- Chin and above cheekbones
- Blend, blend, blend! – Use circular motions for a soft, natural look.
- Set your makeup – Apply setting powder or spray to keep it in place all day.
6. Common Mistakes to Avoid
- Using shades too dark for your skin tone.
- Not blending enough, leaving harsh lines.
- Applying too much product at once.
- Contouring under poor lighting.
Always start light — it’s easier to build color than to remove excess product.
7. Add the Finishing Touches
Once your contour and highlight are set:
- Add blush to bring warmth to your cheeks.
- Use a touch of highlighter on your nose and cheekbones for a radiant glow.
- Finish with setting spray for long-lasting results.
8. Practice Makes Perfect
Like all makeup techniques, contouring takes practice. Experiment with different shades, tools, and placements until you find what works best for your features and comfort level.
Remember, the goal of contouring is enhancement, not transformation — highlight your natural beauty confidently.
Final Thoughts
Contouring doesn’t have to be intimidating. With the right tools, shades, and blending technique, you can achieve a beautifully sculpted and glowing look in minutes.
Start simple, focus on blending, and gradually build your skills. Before long, you’ll be contouring effortlessly for any occasion — from daily wear to special events.
Confidence starts with knowing how to define your best features — and contouring helps you do just that.