
Making Your Own Handmade Stationery
In a world filled with digital communication, receiving a handwritten note on personalized stationery feels incredibly special. Handmade stationery adds a personal touch, making every letter, thank-you note, or invitation feel unique. Making Your Own Handmade Stationery Whether you’re writing a heartfelt letter to a friend, sending invitations for a special event, or simply creating beautiful paper goods for yourself, crafting your own stationery can be both a fun and rewarding experience.
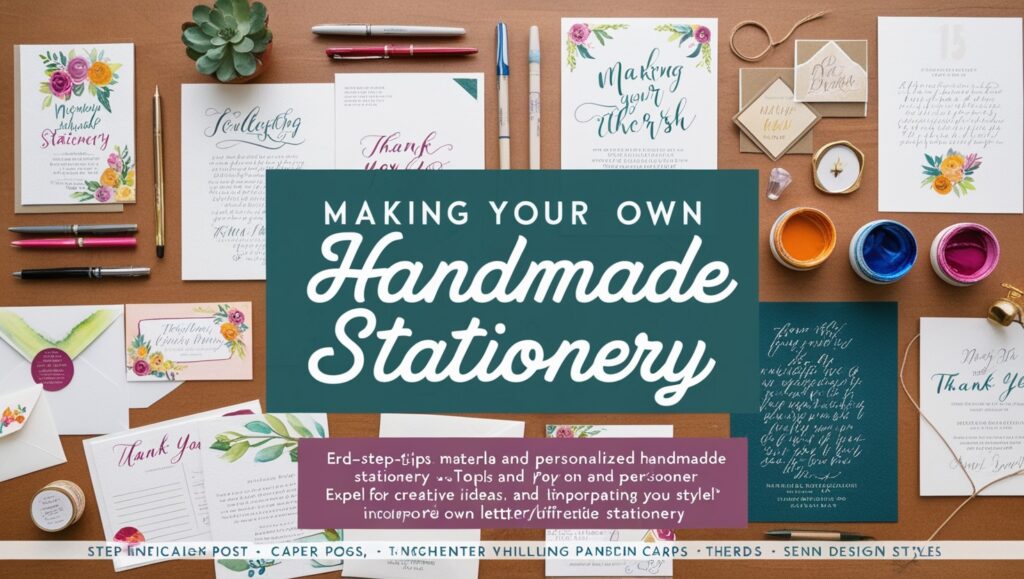
In this blog, we’ll walk you through how to make your own handmade stationery from start to finish. From selecting the right materials to incorporating your personal style, you’ll learn how to create one-of-a-kind paper products that stand out and leave a lasting impression.
Why Handmade Stationery?
Before we dive into the “how,” let’s explore why handmade stationery is worth your time and effort:
- Personalized Touch: Handmade stationery is a reflection of your unique style, allowing you to customize designs, colors, and textures to suit any occasion.
- Creative Outlet: The process of creating your own stationery is an excellent creative exercise, helping you explore new artistic skills.
- Eco-friendly: Making your own paper products can be an eco-conscious choice, especially when you use recycled materials or natural dyes.
- Meaningful Gifts: Handmade stationery makes for thoughtful gifts. It’s a perfect way to show appreciation for someone by gifting them something special, functional, and beautiful.
- Memorable Communication: Whether for weddings, birthdays, or thank-you notes, handmade stationery makes the moment feel more personal and meaningful.
Step 1: Gather Your Materials
The first step in making your own handmade stationery is gathering the right materials. Here’s a list of basic supplies you’ll need:
1. Paper
The type of paper you choose sets the tone for your stationery. Opt for thick, high-quality paper like watercolor paper, kraft paper, or textured card stock. If you want a vintage feel, consider using recycled paper or paper with natural fibers.
2. Pens, Markers, and Calligraphy Tools
To write and decorate your stationery, choose fineliner pens, gel pens, or calligraphy brushes. For calligraphy, you’ll need special dip pens or brush pens that allow for thick and thin strokes to create elegant lettering.
3. Stamps and Ink
If you want to add a little flair to your stationery, rubber stamps are a great way to add designs like flowers, patterns, or even monograms. Making Your Own Handmade Stationery Choose an ink pad that suits your paper—archival ink is ideal for high-quality results.
4. Paints and Watercolors
For a more artistic look, you can incorporate watercolor paints or acrylic paints. Making Your Own Handmade Stationery These can be used for creating beautiful background washes, borders, or illustrations that enhance the look of your stationery.
5. Embossing Tools
If you want to create textured designs, consider using an embossing tool. It allows you to add raised designs or lettering to your stationery, adding a professional touch.
6. Envelopes
Choose matching envelopes that complement the paper you’ve chosen. You can personalize the envelopes by adding stamps, hand-lettering addresses, or incorporating designs that match your stationery.
Step 2: Design Your Stationery
The design process is where you can truly let your creativity shine. Here are a few ideas to get you started:
1. Themes and Inspiration
Start by choosing a theme for your stationery. Think about the occasion or purpose—wedding invitations, thank-you cards, personal letters, or holiday stationery. Pinterest is a great place to find inspiration, as are art books, nature, and even fashion.
2. Personalize with Calligraphy
Handwritten calligraphy adds a touch of elegance and authenticity to your stationery. Making Your Own Handmade Stationery Practice different styles of lettering to see what suits your design best. You can create a monogram, write a favorite quote, or hand-letter the recipient’s name to make each piece unique.
3. Add Decorative Elements
Incorporate decorative elements like floral illustrations, watercolor washes, or border designs. Use stamps, stencils, or freehand drawings to add these decorative details. Consider using metallic pens or gold leaf for added elegance.
4. Create Custom Stationery Sets
For a cohesive look, design a complete stationery set that includes not only letterhead or cards but also matching envelopes, return address labels, and even stickers. You can also design matching thank-you notes, business cards, and notepads.
Step 3: Create and Assemble
Now that you’ve decided on the design, it’s time to get creative and put your ideas into action. Here’s how to proceed:
1. Cutting and Shaping Your Paper
Use a paper cutter or a sharp pair of scissors to cut your paper to the desired size. Standard stationery size is usually 4.25 x 5.5 inches (A2 size) for cards and 5 x 7 inches for invitations. If you’re feeling adventurous, you can create custom sizes for unique, one-of-a-kind designs.
2. Writing and Decorating
Using your pens, markers, or calligraphy tools, begin writing your message or decorative elements onto your stationery. This is where your design comes to life! You can also add watercolor accents or stamped images for added texture and interest.
3. Let It Dry
If you’re using any liquid mediums like watercolor or ink, let your designs dry completely before handling the paper to avoid smudging.
4. Add Embellishments
Once your design is dry, you can enhance it further with ribbons, wax seals, or embellished paper clips. If you want to create a vintage look, add a vintage postage stamp or use hand-dyed twine for wrapping.
Step 4: Assemble and Send
After your stationery is ready, it’s time to assemble and send it out!
1. Choose the Right Envelope
Match your stationery with envelopes that complement the size and color. You can choose plain envelopes or get creative by adding personalized touches, such as address stamps, hand-lettered names, or decorative seals.
2. Seal and Send
If you’re feeling extra creative, consider using a wax seal to close the envelope, adding an elegant touch of antiquity. Once your envelopes are sealed, send them off with love and pride.
Step 5: Keep It Fun and Experiment!
Don’t be afraid to try new techniques. Creating handmade stationery is about expressing your personality and creativity. Experiment with different colors, textures, and designs to develop your own unique style. You’ll find that the process is as rewarding as the final product.
Final Thoughts
Making your own handmade stationery is not only a fun and rewarding craft, but it also allows you to create unique, personal items that make a statement. Whether you’re using it to write a heartfelt note or to celebrate a special event, handmade stationery adds an unforgettable personal touch.
By following the steps above, you’ll be on your way to creating beautiful, bespoke stationery that reflects your creativity and style. So, gather your materials, get inspired, and start crafting your own personalized paper goods today!