
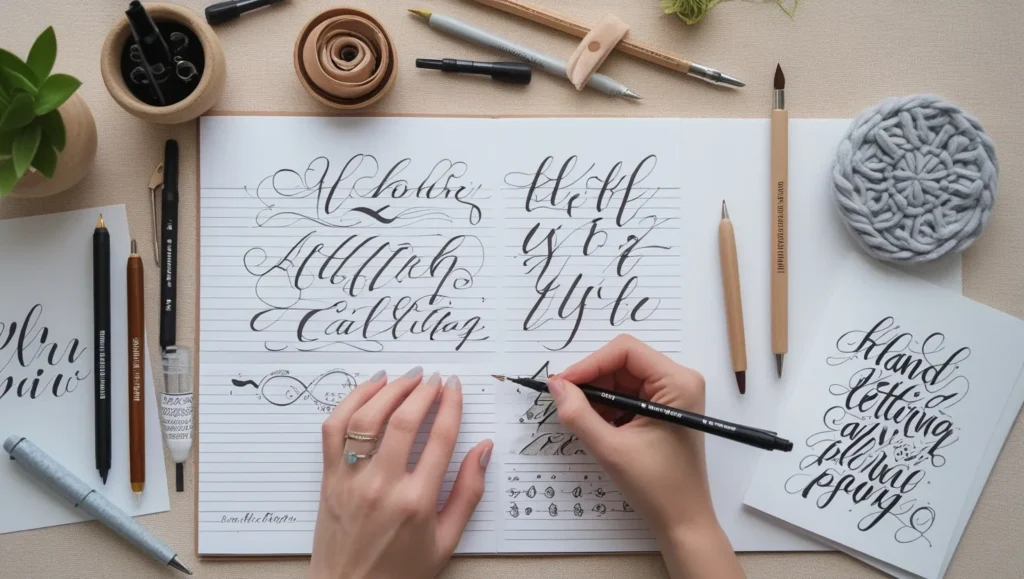
Hand Lettering and Calligraphy
Hand lettering and calligraphy are both beautiful forms of artistic expression, often used to create personalized cards, wall art, Hand Lettering and Calligraphy logos, and more. Whether you’re a beginner or someone looking to refine your skills, this guide will walk you through the essentials of both art forms.
What is the Difference Between Hand Lettering and Calligraphy?
Before diving in, Hand Lettering and Calligraphy it’s essential to understand the distinction between hand lettering and calligraphy:
- Hand Lettering: This involves drawing each letter as an illustration. It’s more about design and artistic expression, where each letter can have unique characteristics.
- Calligraphy: This is the art of beautiful writing using specific tools like brush pens, dip pens, or fountain pens. Calligraphy follows a rhythmic, fluid style based on specific scripts.
Both art forms require practice, patience, and creativity.
Materials You Will Need
Here’s what you’ll need to get started:
- Paper: Use smooth paper for calligraphy to prevent nib damage, Hand Lettering and Calligraphy and sketch paper for hand lettering.
- Pencils: Useful for sketching out rough drafts.
- Eraser: A kneaded eraser is gentle on paper.
- Pens: Choose from brush pens, fine liners, or calligraphy pens based on your preference.
- Ruler and Compass: Helps create guidelines for letter alignment.
- Markers and Colored Pencils: Great for adding color and embellishments.
Step 1: Understanding Basic Strokes
Both calligraphy and hand lettering start with mastering basic strokes. Practice these essential strokes:
- Thin Upstrokes: Apply light pressure while moving upward.
- Thick Downstrokes: Apply heavier pressure while moving downward.
- Curves and Loops: Combine upstrokes and downstrokes to Hand Lettering and Calligraphy create beautiful curves.
Spend time practicing these strokes to gain better control over your tools.
Step 2: Learn Letter Formation
For Calligraphy:
- Begin with basic alphabets using simple scripts like modern calligraphy or Hand Lettering and Calligraphy copperplate.
- Follow the rhythm of thick downstrokes and thin upstrokes.
- Maintain consistent spacing between letters.
For Hand Lettering:
- Experiment with different lettering styles, Hand Lettering and Calligraphy from block letters to script fonts.
- Create guidelines to keep your text aligned.
- Play around with letter sizes, spacing, and embellishments for a unique touch.
Step 3: Practice, Practice, Practice
Repetition is key to mastering both art forms. Set aside dedicated time each day to practice. Start with individual letters, Hand Lettering and Calligraphy then move on to short words and phrases. Consider using printable practice sheets for guided learning.
Step 4: Adding Flair and Personality
Once you are comfortable with letter formation, Hand Lettering and Calligraphy add personal style to your work. Here’s how:
- Add Shadows and Highlights: Create a 3D effect by adding shadows to one side of your letters.
- Flourishing: Decorative swirls and loops can add elegance to calligraphy.
- Blending Colors: Use multiple shades to create gradient effects in hand lettering.
- Textures and Patterns: Experiment with textures using stippling, cross-hatching, or watercolor washes.
Step 5: Create Your First Project
Now that you have practiced and built confidence, Hand Lettering and Calligraphy try your first project. Here are some ideas to get started:
- Design a greeting card with a calligraphy quote.
- Create a motivational wall art piece using hand lettering.
- Customize a notebook cover with a combination of calligraphy and illustrations.
Remember, the key is to enjoy the process and allow your creativity to flow.
Troubleshooting Common Mistakes
- Inconsistent Strokes: Ensure consistent pressure while practicing strokes.
- Uneven Letters: Use guidelines to maintain uniformity.
- Ink Bleeding: Choose appropriate paper to avoid Hand Lettering and Calligraphy bleeding or feathering.
- Hand Fatigue: Take breaks to avoid straining your hand.
Final Tips for Success
- Be Patient: Progress takes time, Hand Lettering and Calligraphy so don’t rush.
- Stay Inspired: Follow calligraphers and hand lettering artists on social media for motivation.
- Experiment: Try different tools, styles, and mediums to find what suits you best.
- Join Workshops: Consider attending online or in-person workshops for guided learning.
Final Thoughts
Hand lettering and calligraphy are rewarding skills that enhance your creativity and allow you to express yourself artistically. By following this step-by-step guide, Hand Lettering and Calligraphy you’ll gain the foundational skills needed to embark on your lettering journey. Remember, the beauty of these art forms lies in the imperfections, so embrace the learning process and enjoy every stroke.
Happy lettering!