
Wall Art with Easy Craft Supplies
Creating your own wall art is an exciting, cost-effective way to personalize your space and unleash your creativity. Wall Art with Easy Craft Supplies Whether you’re a seasoned crafter or a beginner, making your wall art can be an enjoyable and fulfilling project. Here’s a detailed guide to help you get started.
Why Make Your Own Wall Art?
Wall art adds character, color, and personality to any room. By making it yourself, you can:
- Save Money: Avoid expensive store-bought art.
- Express Creativity: Tailor designs to your unique taste.
- Repurpose Materials: Create sustainable art using items you already have.
- Enjoy the Process: Turn it into a relaxing, mindful activity.
Supplies You’ll Need
The beauty of DIY wall art lies in its simplicity. Many projects can be created with everyday items. Here’s a basic list to get you started:
- Canvas or Wooden Boards: Available at craft stores or online.
- Paint and Brushes: Acrylic paints are beginner-friendly.
- Adhesives: Glue, Mod Podge, or double-sided tape.
- Decorative Materials: Fabric scraps, magazine clippings, dried flowers, or string.
- Recycled Items: Old CDs, cardboard, bottle caps, or newspaper.
- Tools: Scissors, stencils, measuring tape, and masking tape.
Step-by-Step DIY Wall Art Ideas
1. Abstract Painting
Abstract designs are simple yet visually striking.
- How to Do It:
- Use a canvas and select 3-4 complementary colors.
- Experiment with broad brush strokes, splattering, or even using sponges for texture.
- Tips: Add gold or metallic accents for a modern touch.
2. Geometric Designs
Ideal for contemporary spaces.
- How to Do It:
- Use masking tape to create shapes like triangles or hexagons on a canvas.
- Paint within the shapes and remove the tape once the paint dries.
- Tips: Stick to a monochromatic or gradient color palette for a sleek finish.
3. Photo Collage Art
A sentimental and personal project.
- How to Do It:
- Print your favorite photos in black-and-white or color.
- Arrange them on a large board or canvas.
- Add embellishments like stickers, washi tape, or handwritten notes.
- Tips: Use Mod Podge as a sealant for a polished look.
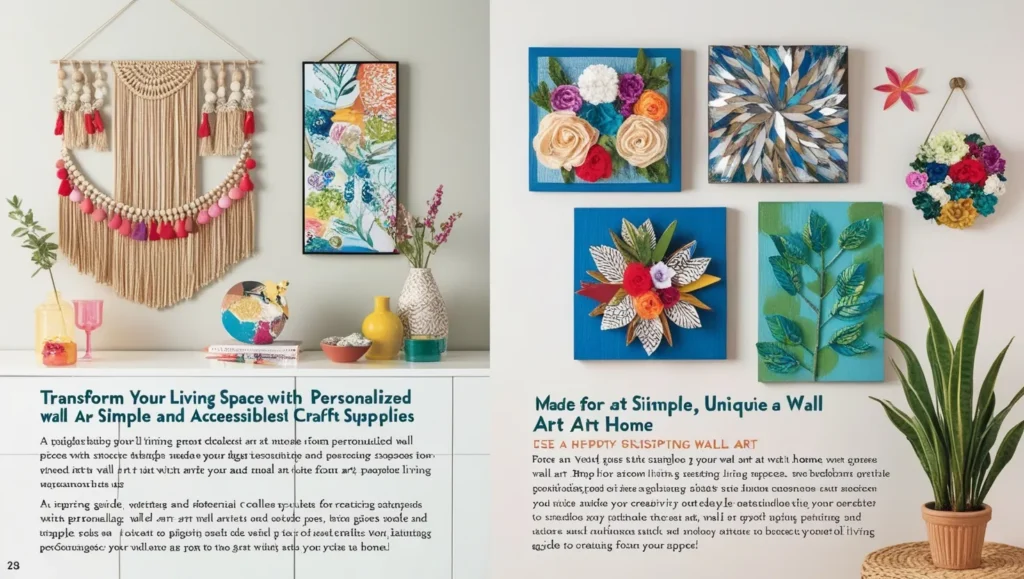
4. Fabric Wall Hangings
A Boho-inspired project that adds texture.
- How to Do It:
- Use a dowel rod or embroidery hoop.
- Tie, weave, or drape colorful yarn, macramé cords, or fabric strips.
- Tips: Add beads or feathers for extra flair.
5. Upcycled Materials Art
Turn trash into treasure.
- How to Do It:
- Arrange items like bottle caps, wine corks, or old CDs in a pattern.
- Mount them on a sturdy backing and paint or leave them natural.
- Tips: Experiment with symmetry for a clean design or asymmetry for a dynamic piece.
Tips for Success
- Plan Ahead: Sketch your design before starting.
- Keep It Simple: Start with basic techniques and build your skills.
- Experiment: Don’t be afraid to mix mediums or colors.
- Display Thoughtfully: Hang your art where it complements the room’s theme.
- Enjoy the Process: Remember, imperfections can add charm!
Benefits of DIY Wall Art
- Stress Relief: Crafting can be therapeutic.
- Personalized Decor: Reflects your personality and taste.
- Creative Outlet: Encourages you to think outside the box.
- Sustainable Choices: Promotes upcycling and reducing waste.
Final Thoughts
Decluttering your closet can seem like a daunting task, but with a plan in place, it’s entirely possible to tackle it in one weekend. Not only will you have a more organized space, but you’ll also feel lighter, clearer, and more in control of your wardrobe choices. Wall Art with Easy Craft Supplies Plus, the sense of accomplishment you’ll feel after completing the project will make it all worthwhile.
Take a deep breath, Wall Art with Easy Craft Supplies roll up your sleeves, and enjoy the process of transforming your closet into a space that works for you!