
How to Paint Your Walls Like a Professional
Painting your walls can completely transform a space—but only if it’s done right. Professional-looking results aren’t about expensive tools or years of experience; they’re about preparation, technique, and patience. With the right approach, you can achieve smooth, clean, long-lasting walls that look just as polished as a professional paint job.
Step 1: Prepare the Room Properly
Professional results start long before the paint can opens.
- Remove furniture or cover it with drop cloths
- Protect floors using plastic sheets or canvas
- Remove switch plates and outlet covers
- Clean walls to remove dust, grease, or stains
- Repair holes and cracks with filler
- Sand patched areas until smooth
Pro Tip: Never skip cleaning—paint won’t adhere well to dirty walls.
Step 2: Choose the Right Paint and Finish
Select Quality Paint
- Invest in good-quality paint for better coverage
- Choose low-VOC paints for healthier indoor air
Pick the Right Finish
- Matte / Flat: Hides imperfections, best for low-traffic areas
- Eggshell / Satin: Easy to clean, ideal for living rooms and bedrooms
- Semi-Gloss / Gloss: Durable and moisture-resistant, perfect for kitchens and bathrooms
Step 3: Gather Professional Tools
- Angled brush for cutting in
- Roller with correct nap length
- Paint tray or bucket
- Extension pole for rollers
- Painter’s tape for clean edges
Pro Tip: Cheap brushes leave streaks—quality tools make a big difference.
Step 4: Prime for Perfection
- Use primer on new, patched, or dark-colored walls
- Primer improves paint adhesion and color accuracy
- Let primer dry completely before painting
Step 5: Cut In Like a Pro
- Use an angled brush to paint edges and corners first
- Work slowly along ceilings, trims, and corners
- Don’t overload the brush
This step creates clean lines and makes rolling easier.
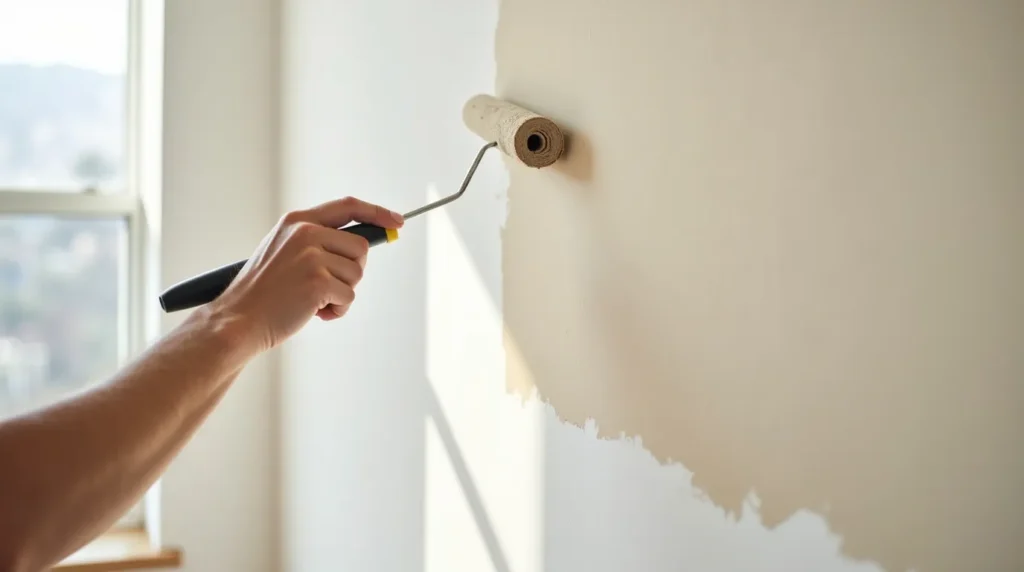
Step 6: Roll the Paint Correctly
- Load the roller evenly—don’t drip
- Use a “W” or “M” pattern to distribute paint
- Roll from top to bottom in sections
- Maintain a wet edge to avoid lap marks
Pro Tip: Roll lightly at the end for a smooth finish.
Step 7: Apply Multiple Thin Coats
- Allow proper drying time between coats
- Two thin coats look better than one thick coat
- Inspect walls under good lighting
Step 8: Remove Tape Carefully
- Remove painter’s tape while paint is slightly damp
- Pull slowly at a 45-degree angle
This prevents peeling and uneven edges.
Common Painting Mistakes to Avoid
- Skipping prep work
- Using too much paint at once
- Not allowing enough drying time
- Painting in poor lighting
- Ignoring wall texture and imperfections
Final Touches
Clean brushes and tools properly
Reattach switch plates and fixtures
Touch up missed spots
Final Thoughts
Painting your walls like a professional is all about preparation, patience, and proper technique. When you invest time in the details—cleaning, priming, and applying paint carefully—you’ll achieve a smooth, durable, and visually stunning result. With practice, confidence, and the right tools, anyone can paint like a pro.